Managing Microsoft Edge on macOS in Microsoft Intune used to mean building and deploying a custom configuration file (e.g. a plist or preference file). The Settings Catalog profile changes that: you pick settings from a visual Settings Picker in the Microsoft Intune admin center and deploy them without editing XML or plist. The experience is similar to managing Edge on Windows with Administrative Templates. Categories, search, and clear controls. This post walks through creating a Settings Catalog profile for Edge on macOS, using the Settings Picker, and checking the result on a Mac.
Create a Settings Catalog Profile for macOS
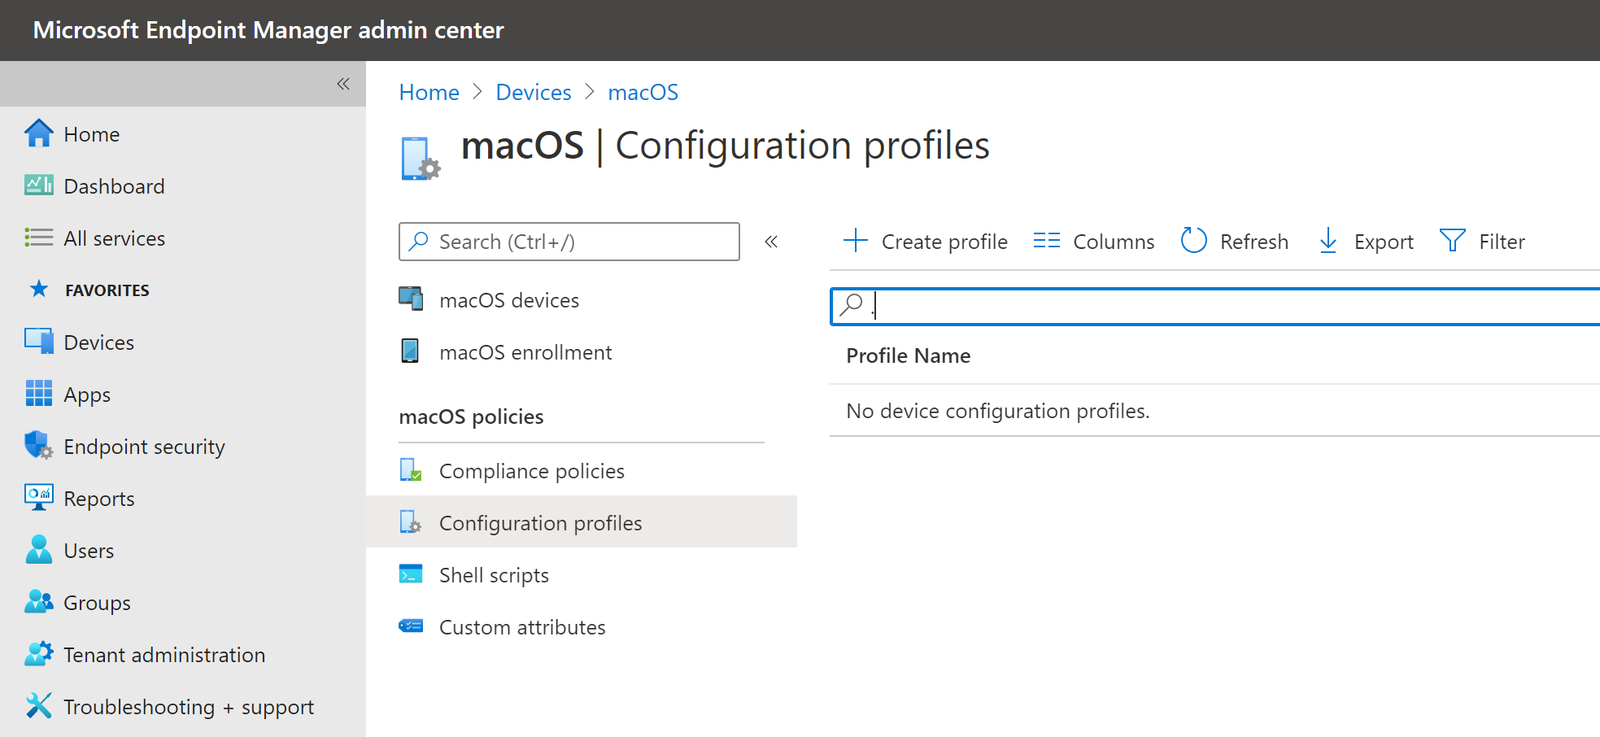
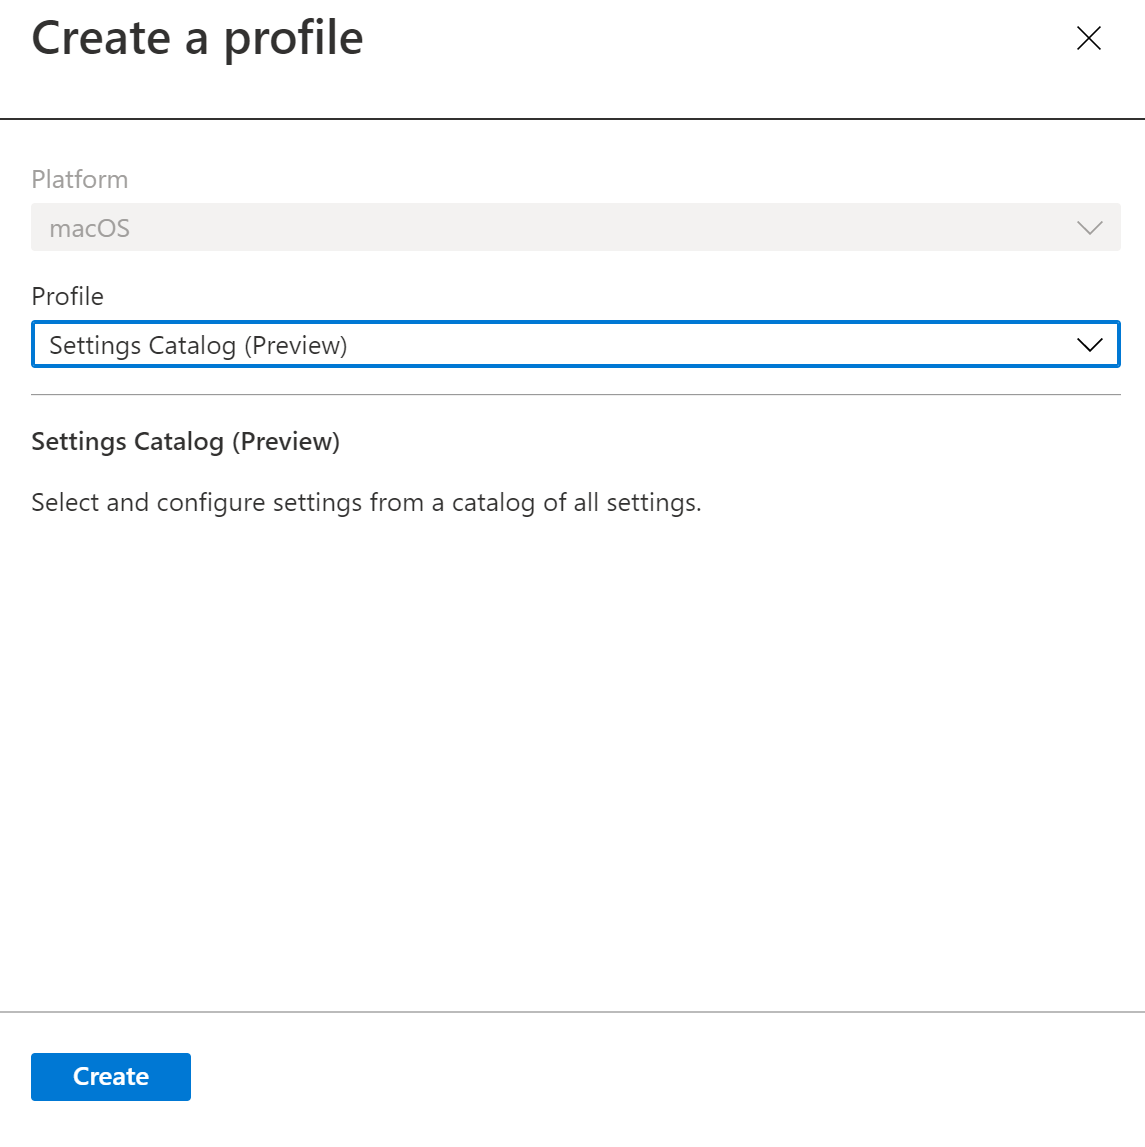
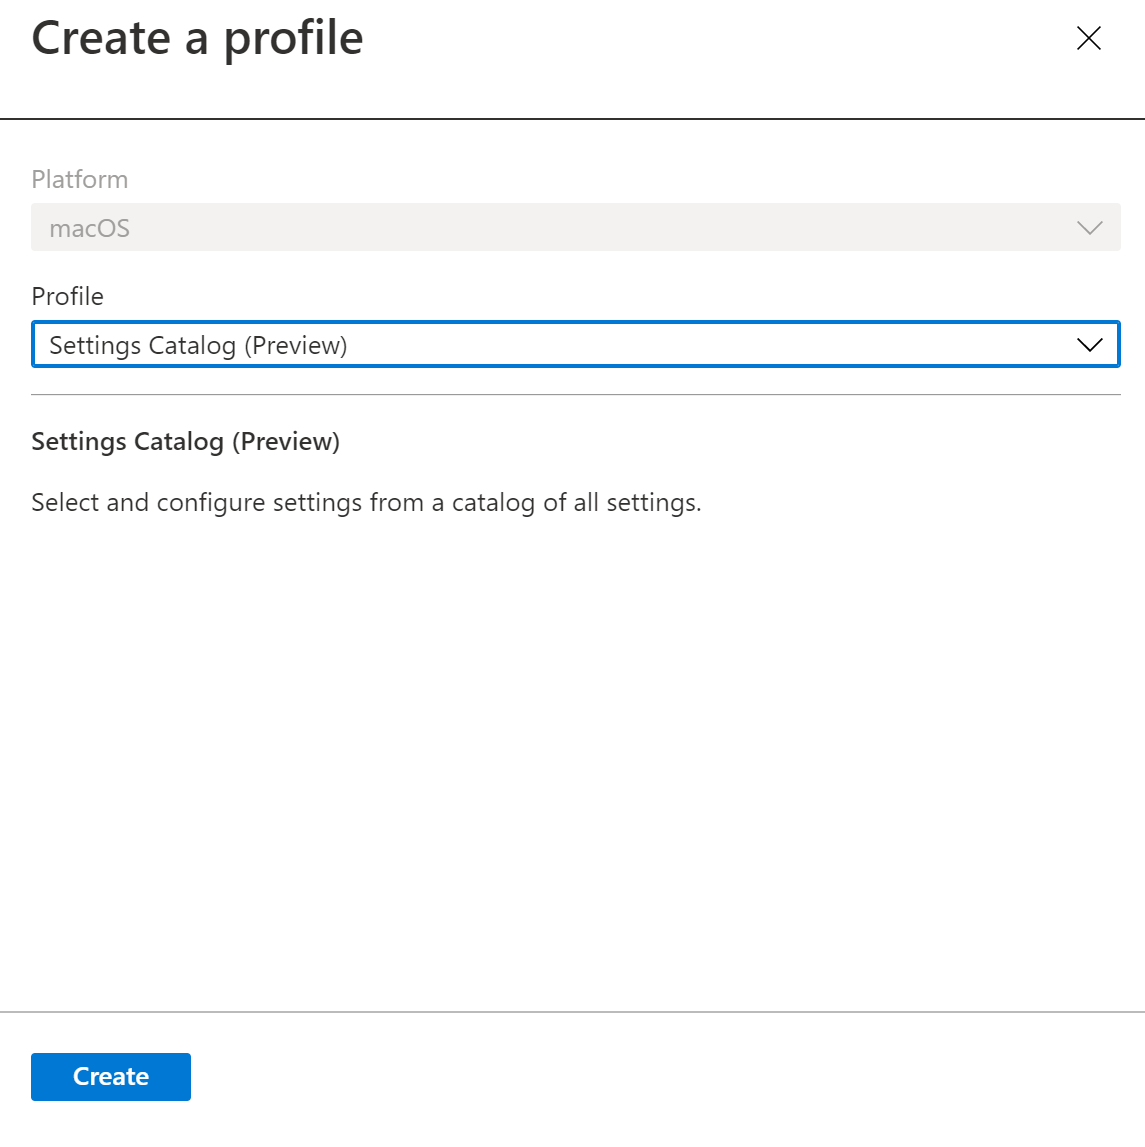
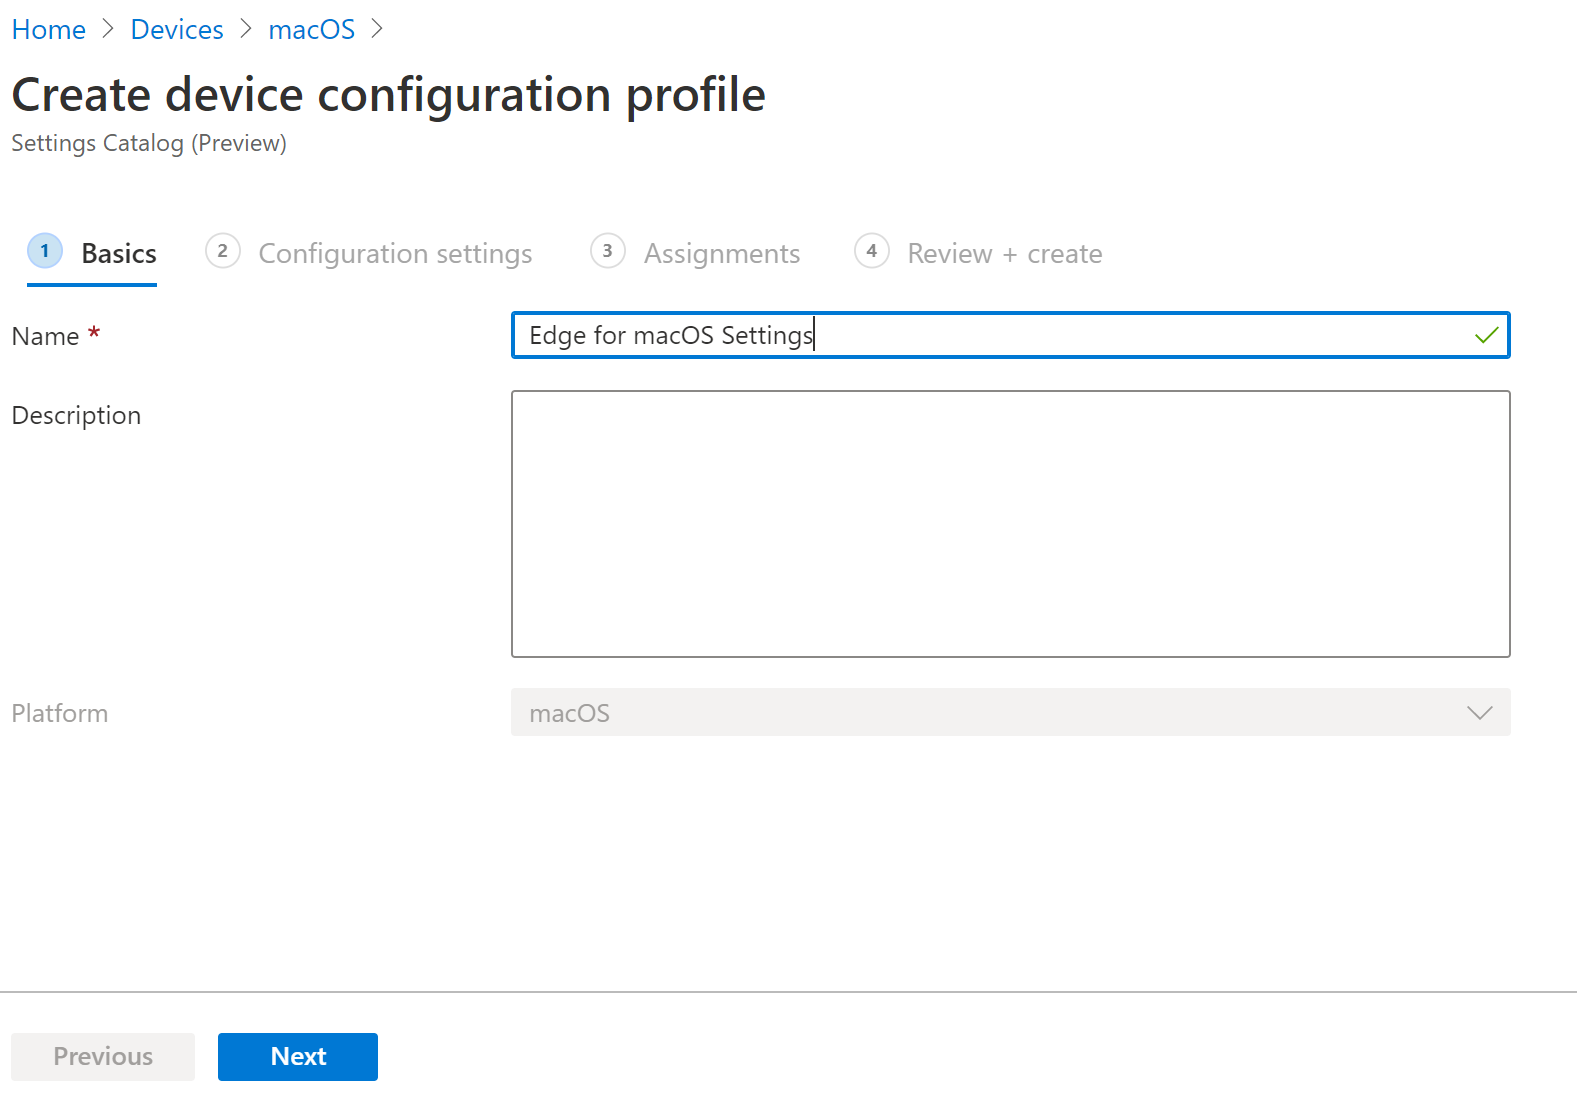
In the Intune admin center, go to Devices → macOS → Configuration profiles and choose Create profile. Set Profile type to Settings catalog and click Create. On Basics, give the profile a name (e.g. “Edge – macOS”) and an optional description, then click Next. The Configuration settings step opens the Settings Picker on the right so you can add and configure Edge (and other) settings.
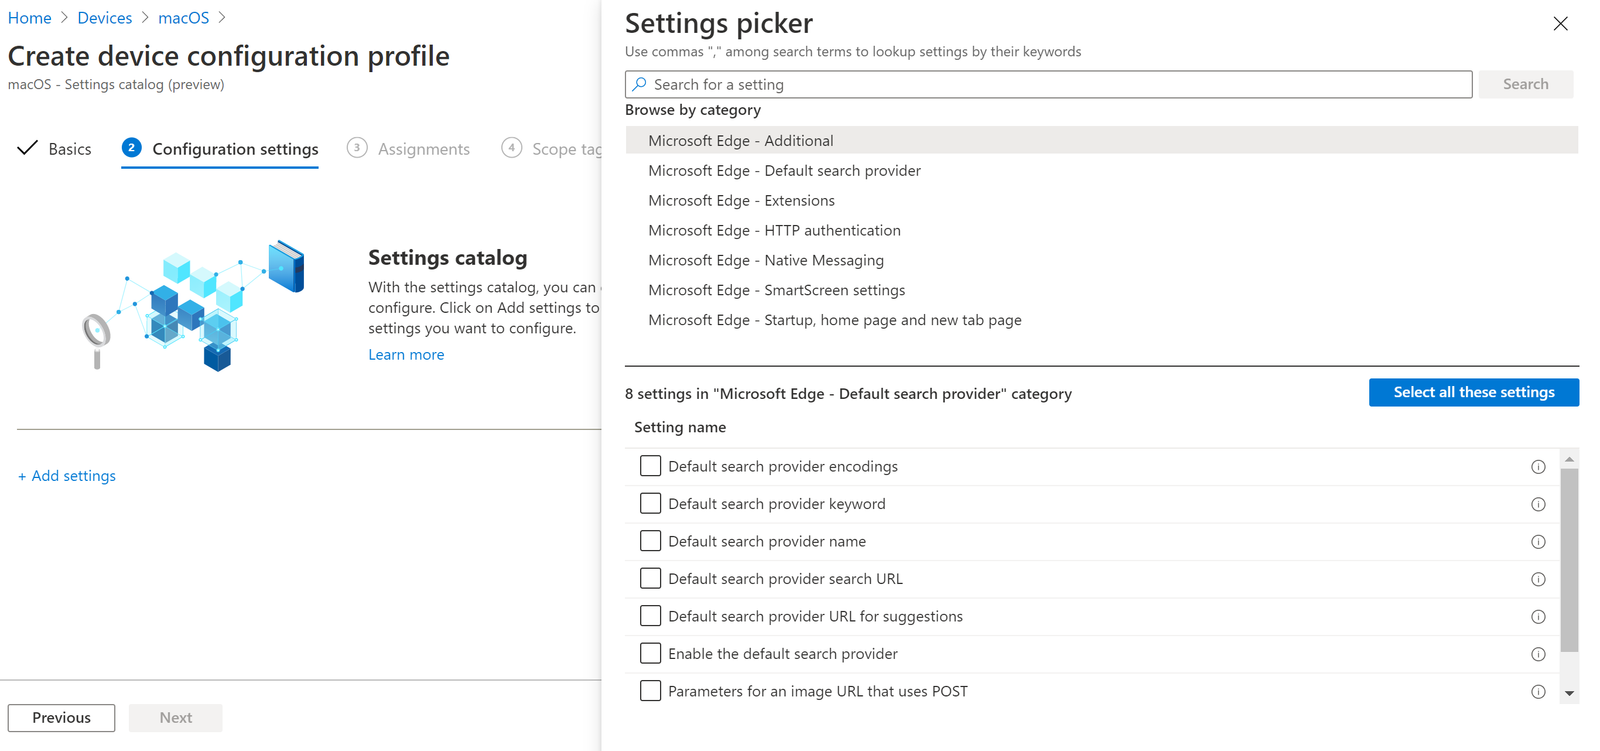
Below: creating a new configuration profile with Profile type Settings catalog for macOS.
The screenshot shows the Settings Picker on the right, with settings grouped by category and selectable from drop-downs.
Finding and Adding Settings
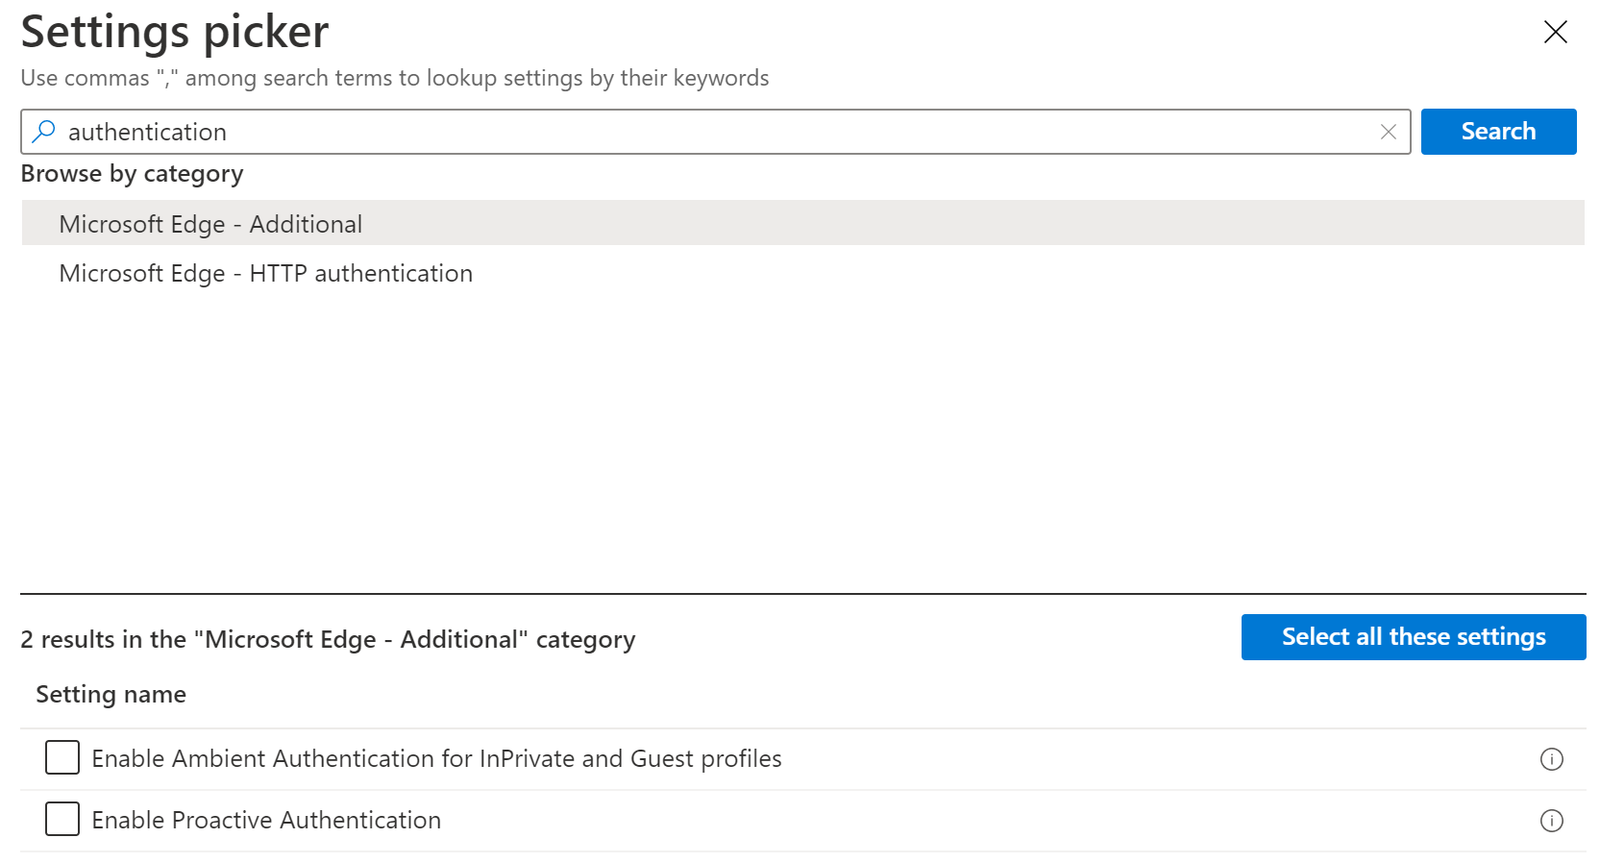
In the Settings Picker, browse the category drop-downs to find the setting you need, or use the search box if you know the name or keyword. Search is useful when you’re not sure which category a setting lives in. After you select a setting, it appears on the left; you can then set its value (e.g. a URL, a toggle, or a drop-down). To remove a setting, use the undo control next to it, or remove the whole category if you added one by mistake. You can add as many settings as you need; they’ll all be listed on the left before you continue.
Below: using the search box in the Settings Picker to find a setting by name.
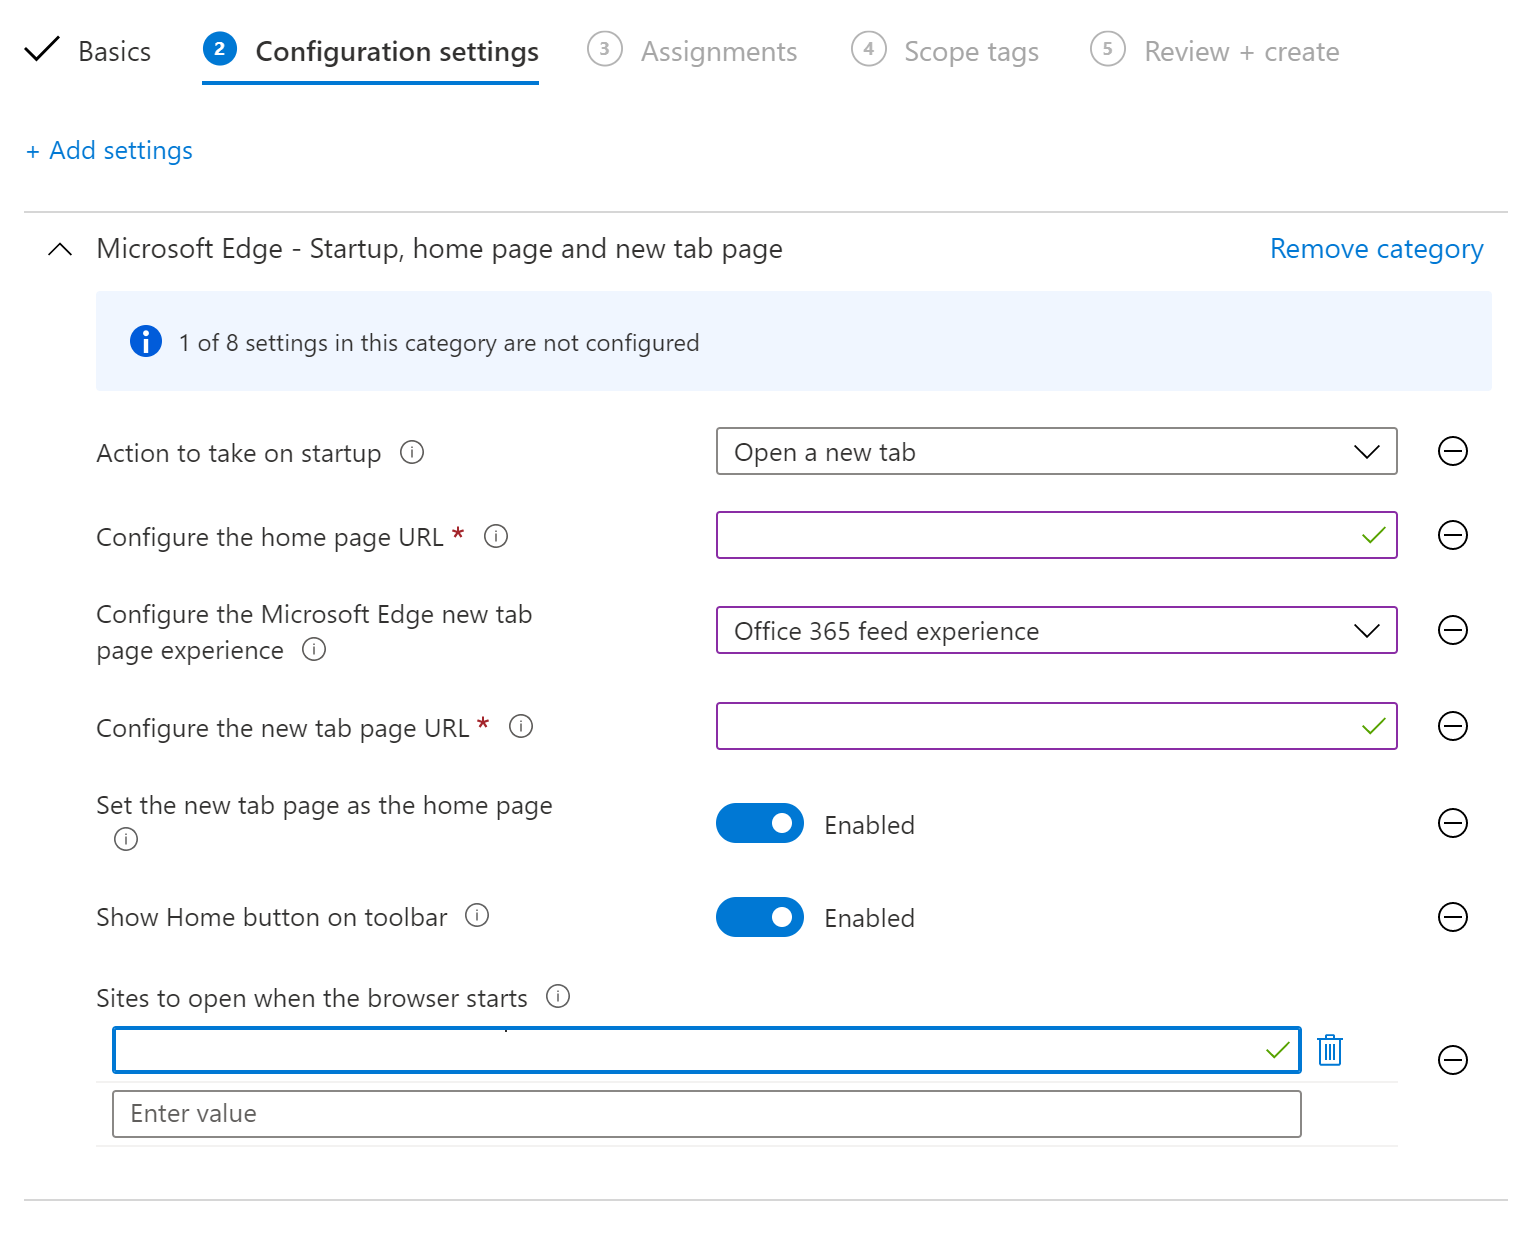
The screenshot shows configuring a selected setting on the left. Here, entering a URL or choosing a value from a drop-down or switch.
Below: removing a setting via the undo button next to it, or removing an entire category.
After adding and configuring all desired settings, the left side shows the full list of managed settings.
Assign the Profile
When you’re done with configuration, click Next, then go to Assignments and assign the profile to the user or device groups that should get the Edge policy (e.g. all macOS devices or a pilot group). Complete the wizard and Create the profile. It will apply at the next sync. The result on the Mac is the same as with a custom Edge configuration profile. Edge receives the same managed settings.
Below: the Assignments step where the profile is assigned to a group.
What Users See on the Mac
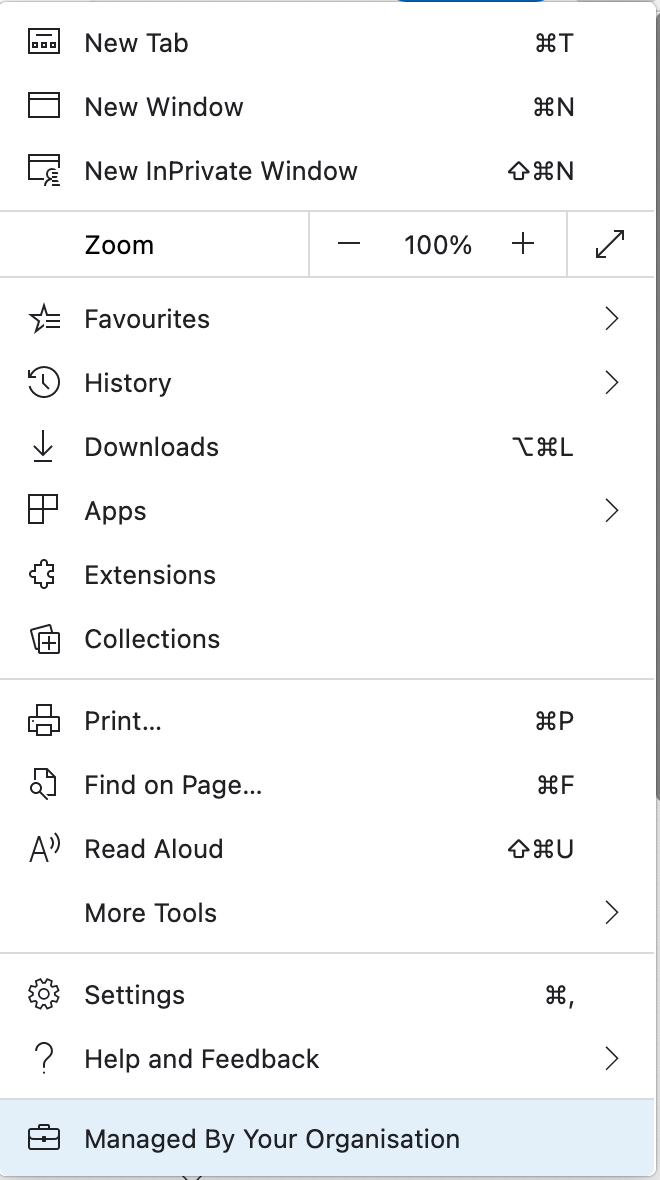
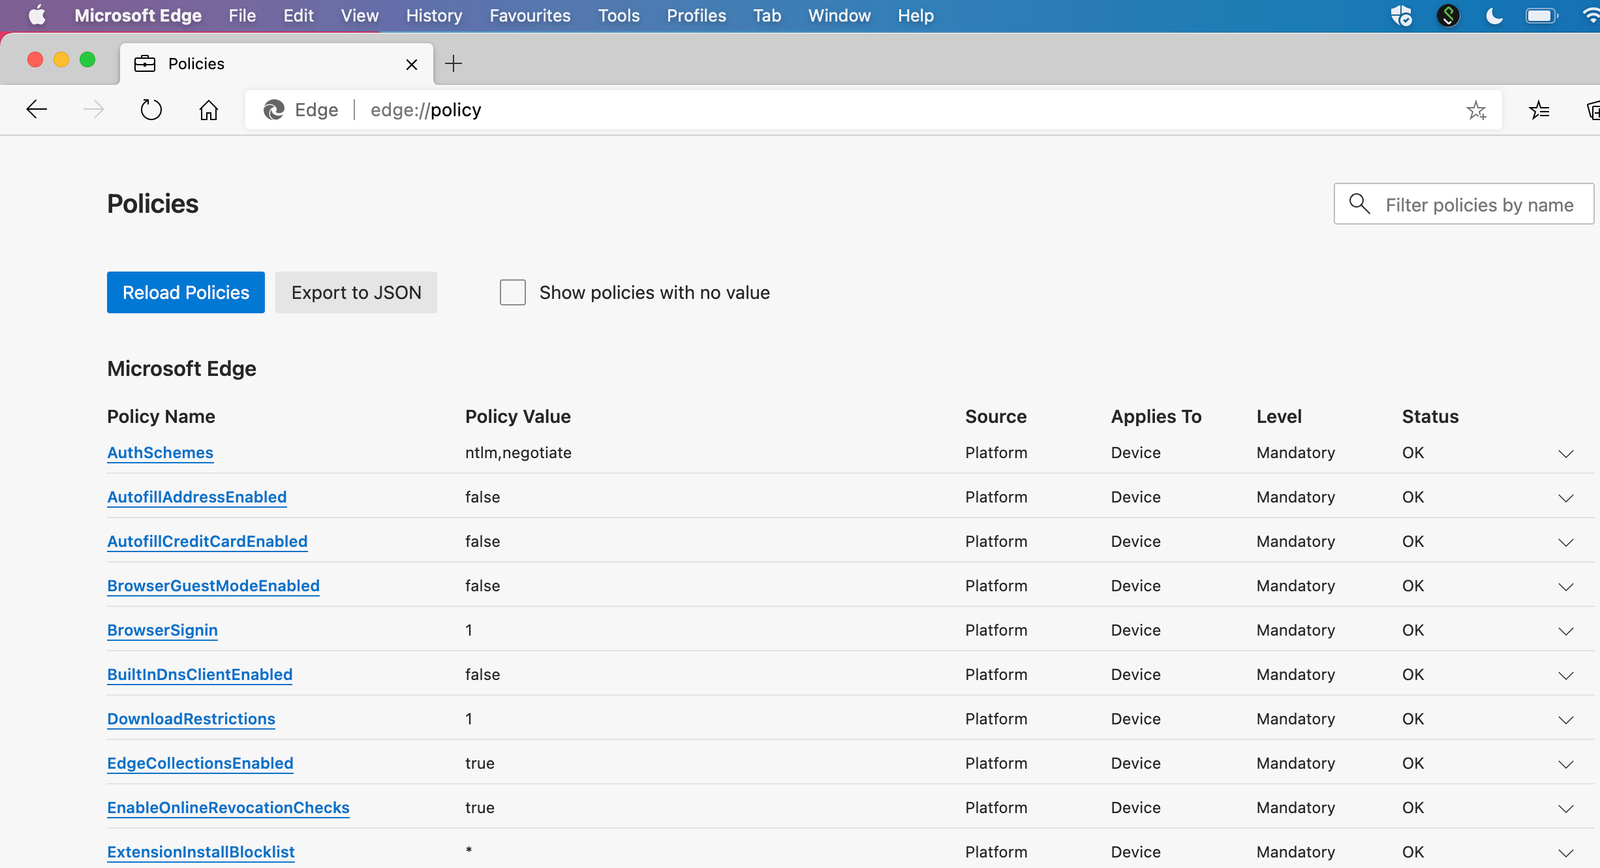
On a Mac where the Settings Catalog profile is applied, Microsoft Edge shows that it is managed: in Edge settings you’ll see the Managed by your organization indicator. Users can also open edge://policy in the address bar to view all policies that are currently applied. That page lists every managed setting and its value, which is useful for troubleshooting or confirming that the profile applied correctly.
The following screenshot shows Edge settings on macOS with the “Managed by your organization” indicator.
Below: the Edge policy page (edge://policy) showing all managed settings and their values.
Summary and Caveats
The Settings Catalog profile is the straightforward way to manage Microsoft Edge on macOS in Intune: no custom plist or preference files, just the Settings Picker in the admin center. Most settings that you could previously set only via a custom profile are available in the catalog; Microsoft adds more as new Edge features ship. If a setting you need (e.g. managed favorites) isn’t there yet, it may appear in a future update. For day-to-day Edge management on Macs, prefer the Settings Catalog profile. Same control and user experience as custom profiles, with a simpler admin workflow.