TeamViewer QuickSupport (QS) is a portable executable that users run when they need remote support. Placing it on the Public Desktop gives every user on the machine a consistent shortcut. Microsoft Intune can deploy it by packaging the QS executable and a small PowerShell script in a Win32 app: the script copies the exe to C:\Users\Public\Desktop (e.g. as Support.exe).
This guide walks through creating the copy script, building an .intunewin package with the Microsoft Win32 Content Prep Tool, and adding the app in Intune with file-based detection and assignments.
What You’ll Do
- Create a PowerShell script that copies
TeamViewerQS.exefrom the package folder to the Public Desktop. - Package the script and the QS executable in an
.intunewinfile using the Win32 Content Prep Tool. - Add a Windows (Win32) app in Intune, set the install command to run the script, configure file detection, then assign to users or devices.
Step 1: Create the Copy Script
Create a new PowerShell script (e.g. CopyTeamviewerQS.ps1). The script runs from the folder where Intune extracts the package, so use Get-Location to copy TeamViewerQS.exe from that folder to the Public Desktop. Example:
$location = Get-Location
Copy-Item "$location\TeamViewerQS.exe" -Destination "C:\Users\Public\Desktop\Support.exe"
Replace Support.exe with the shortcut name you want on the desktop. Save the script; you’ll add it and the QS exe to a folder in the next step.

Step 2: Build the IntuneWin Package
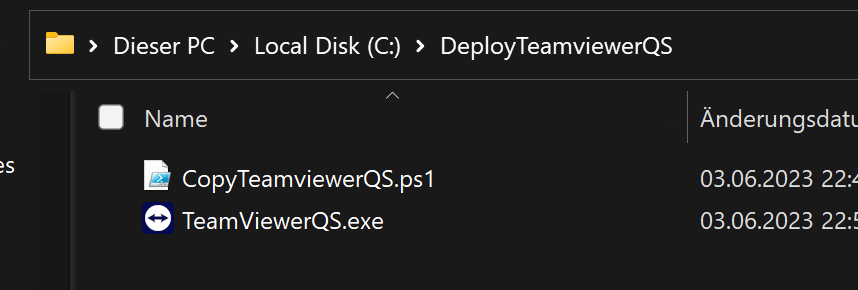
Create a folder (e.g. C:\DeployTeamviewerQS) and an output folder (e.g. C:\Output). Obtain the TeamViewer QuickSupport executable (from your IT team or the TeamViewer download page). Name it TeamViewerQS.exe and place it in C:\DeployTeamviewerQS. Copy your CopyTeamviewerQS.ps1 script into the same folder.
Download and run the Microsoft Intune Win32 Content Prep Tool as Administrator. When prompted, enter:
- Source folder:
C:\DeployTeamviewerQS - Setup file:
CopyTeamviewerQS.ps1 - Output folder:
C:\Output - Catalog folder: No

The tool creates an .intunewin file in the output folder (e.g. CopyTeamviewerQS.intunewin). Use this file when adding the app in Intune.
Step 3: Add and Deploy the App in Intune
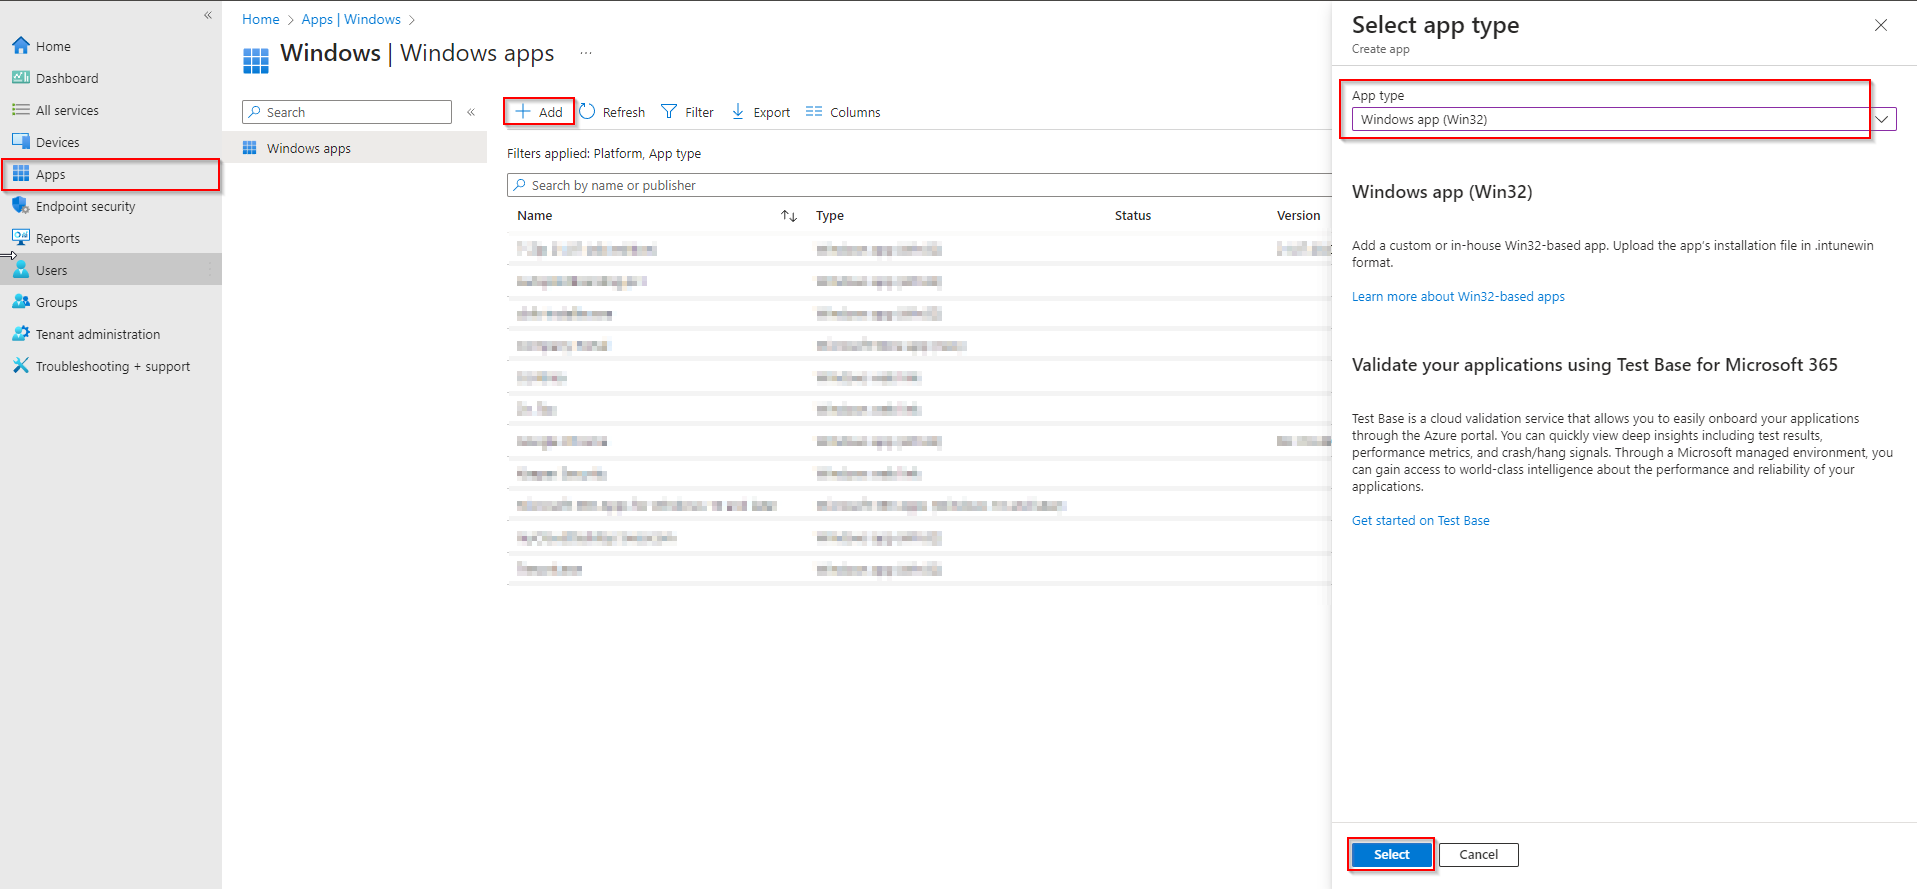
In the Microsoft Endpoint Manager admin center, go to Apps → Windows → Add. Choose Windows app (Win32) and click Select.
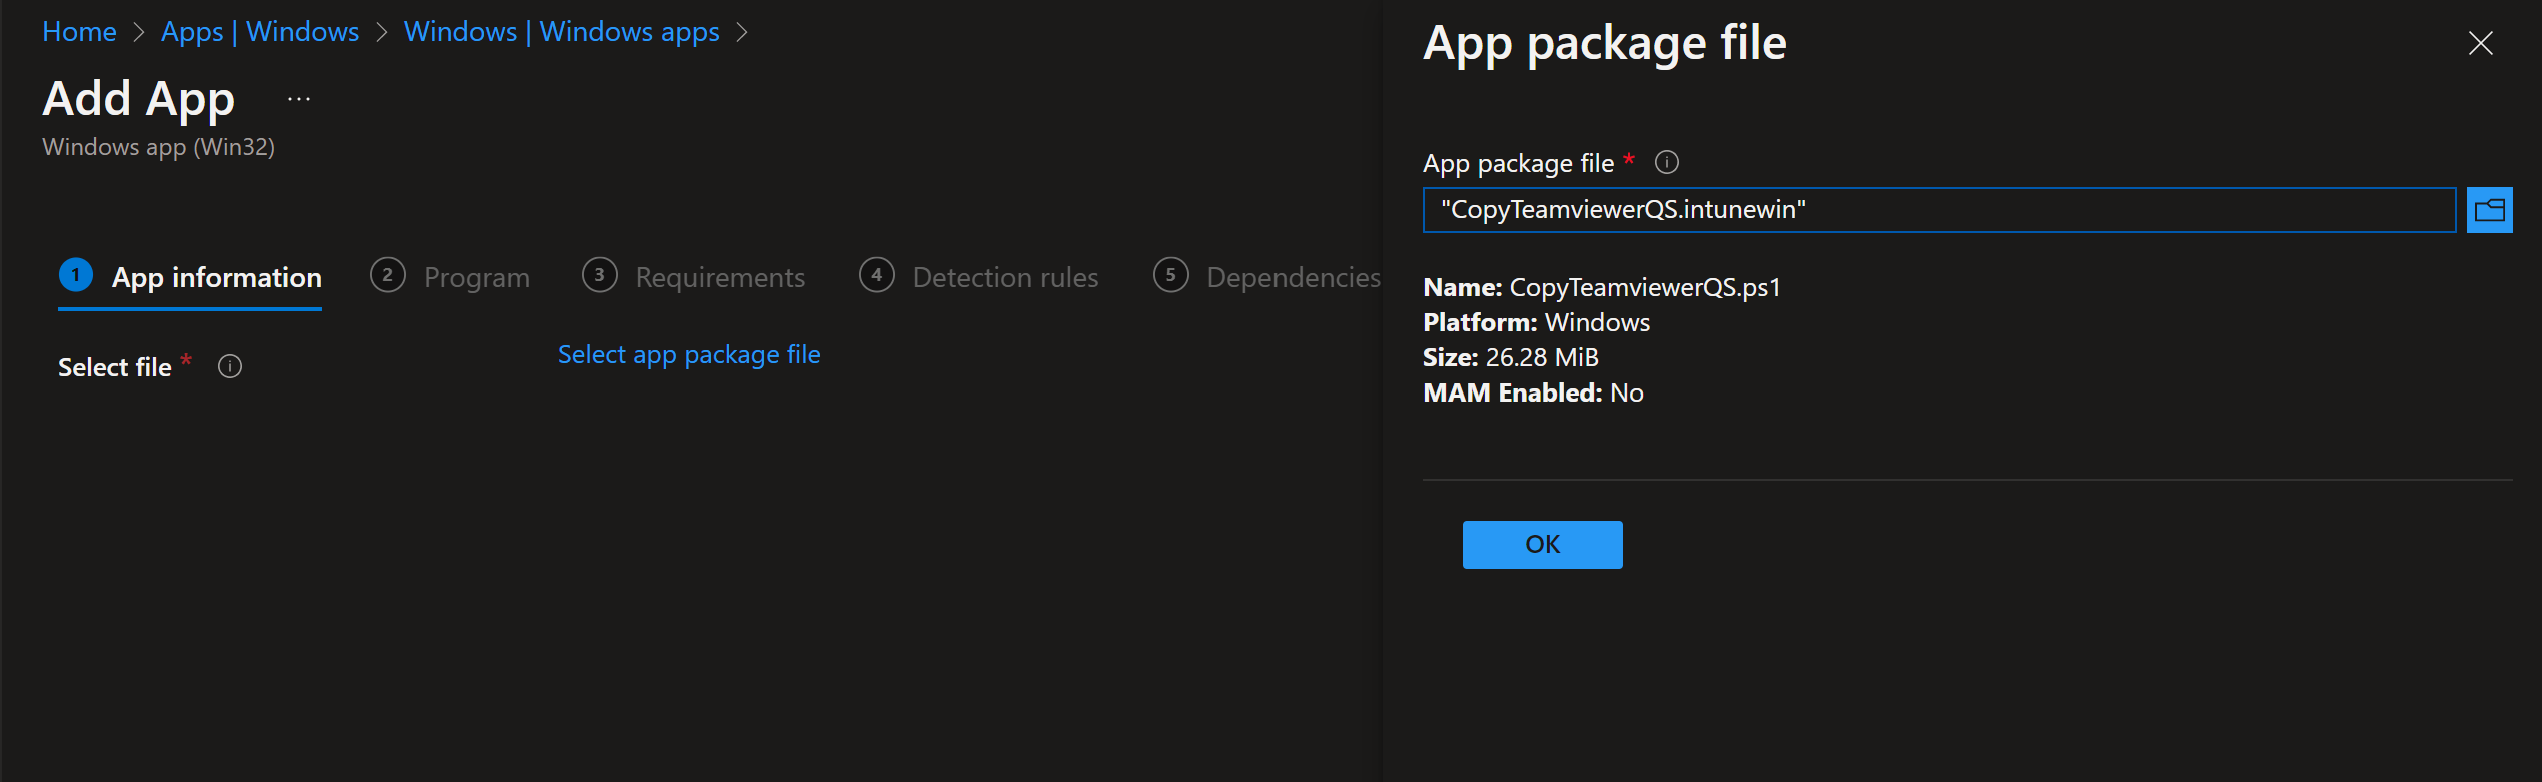
On App package file, upload the .intunewin file from your output folder, then click OK and Next.
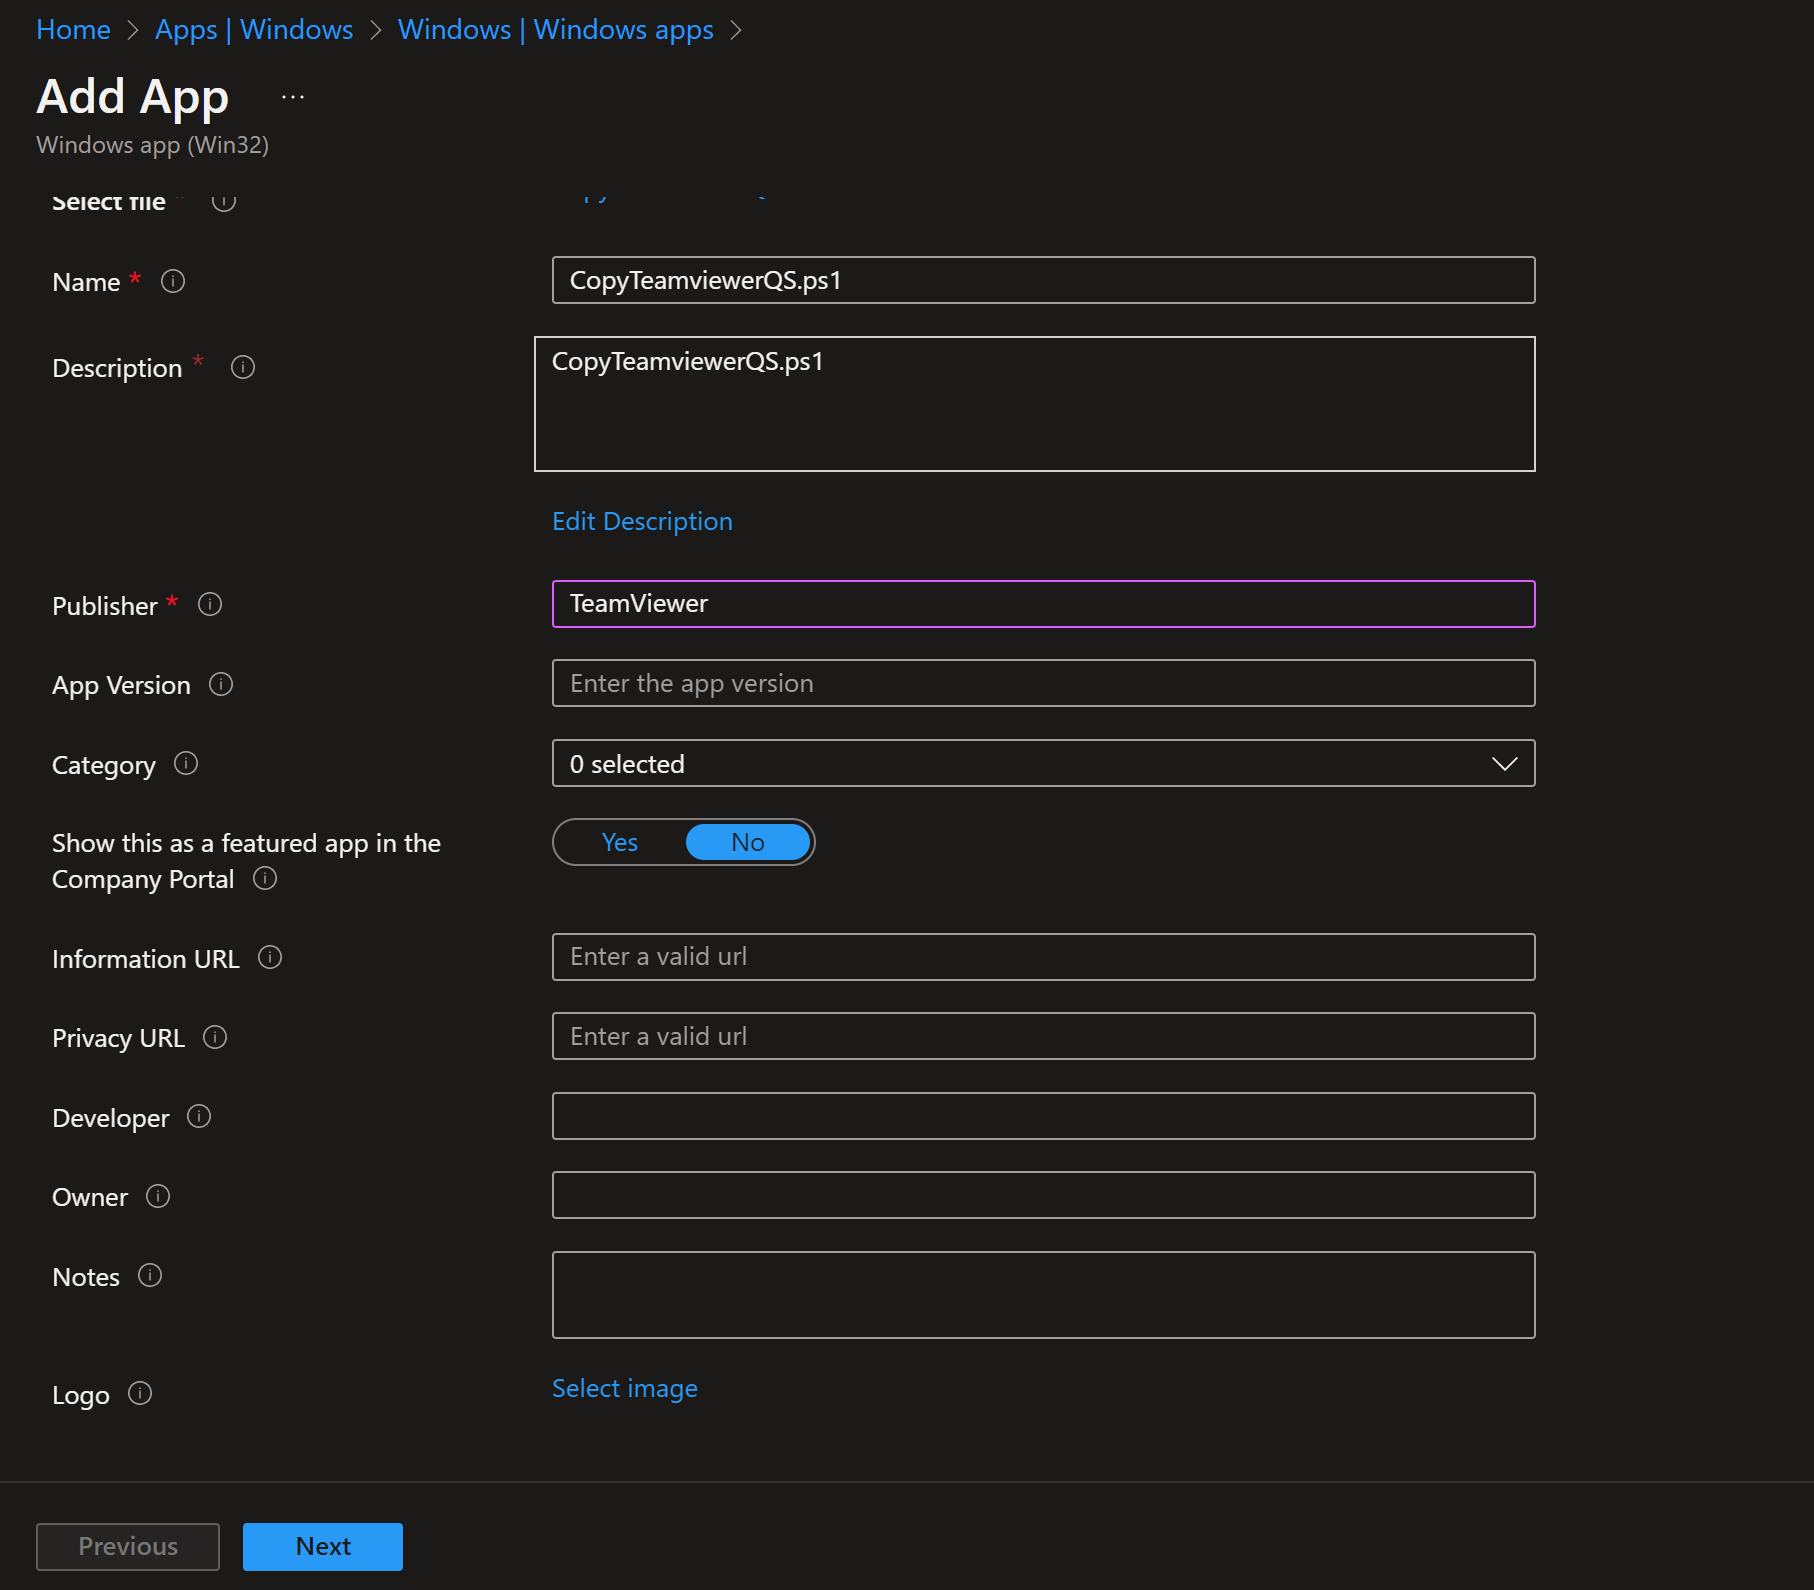
On App information, set name, description, and Publisher (e.g. TeamViewer or your org). Click Next.
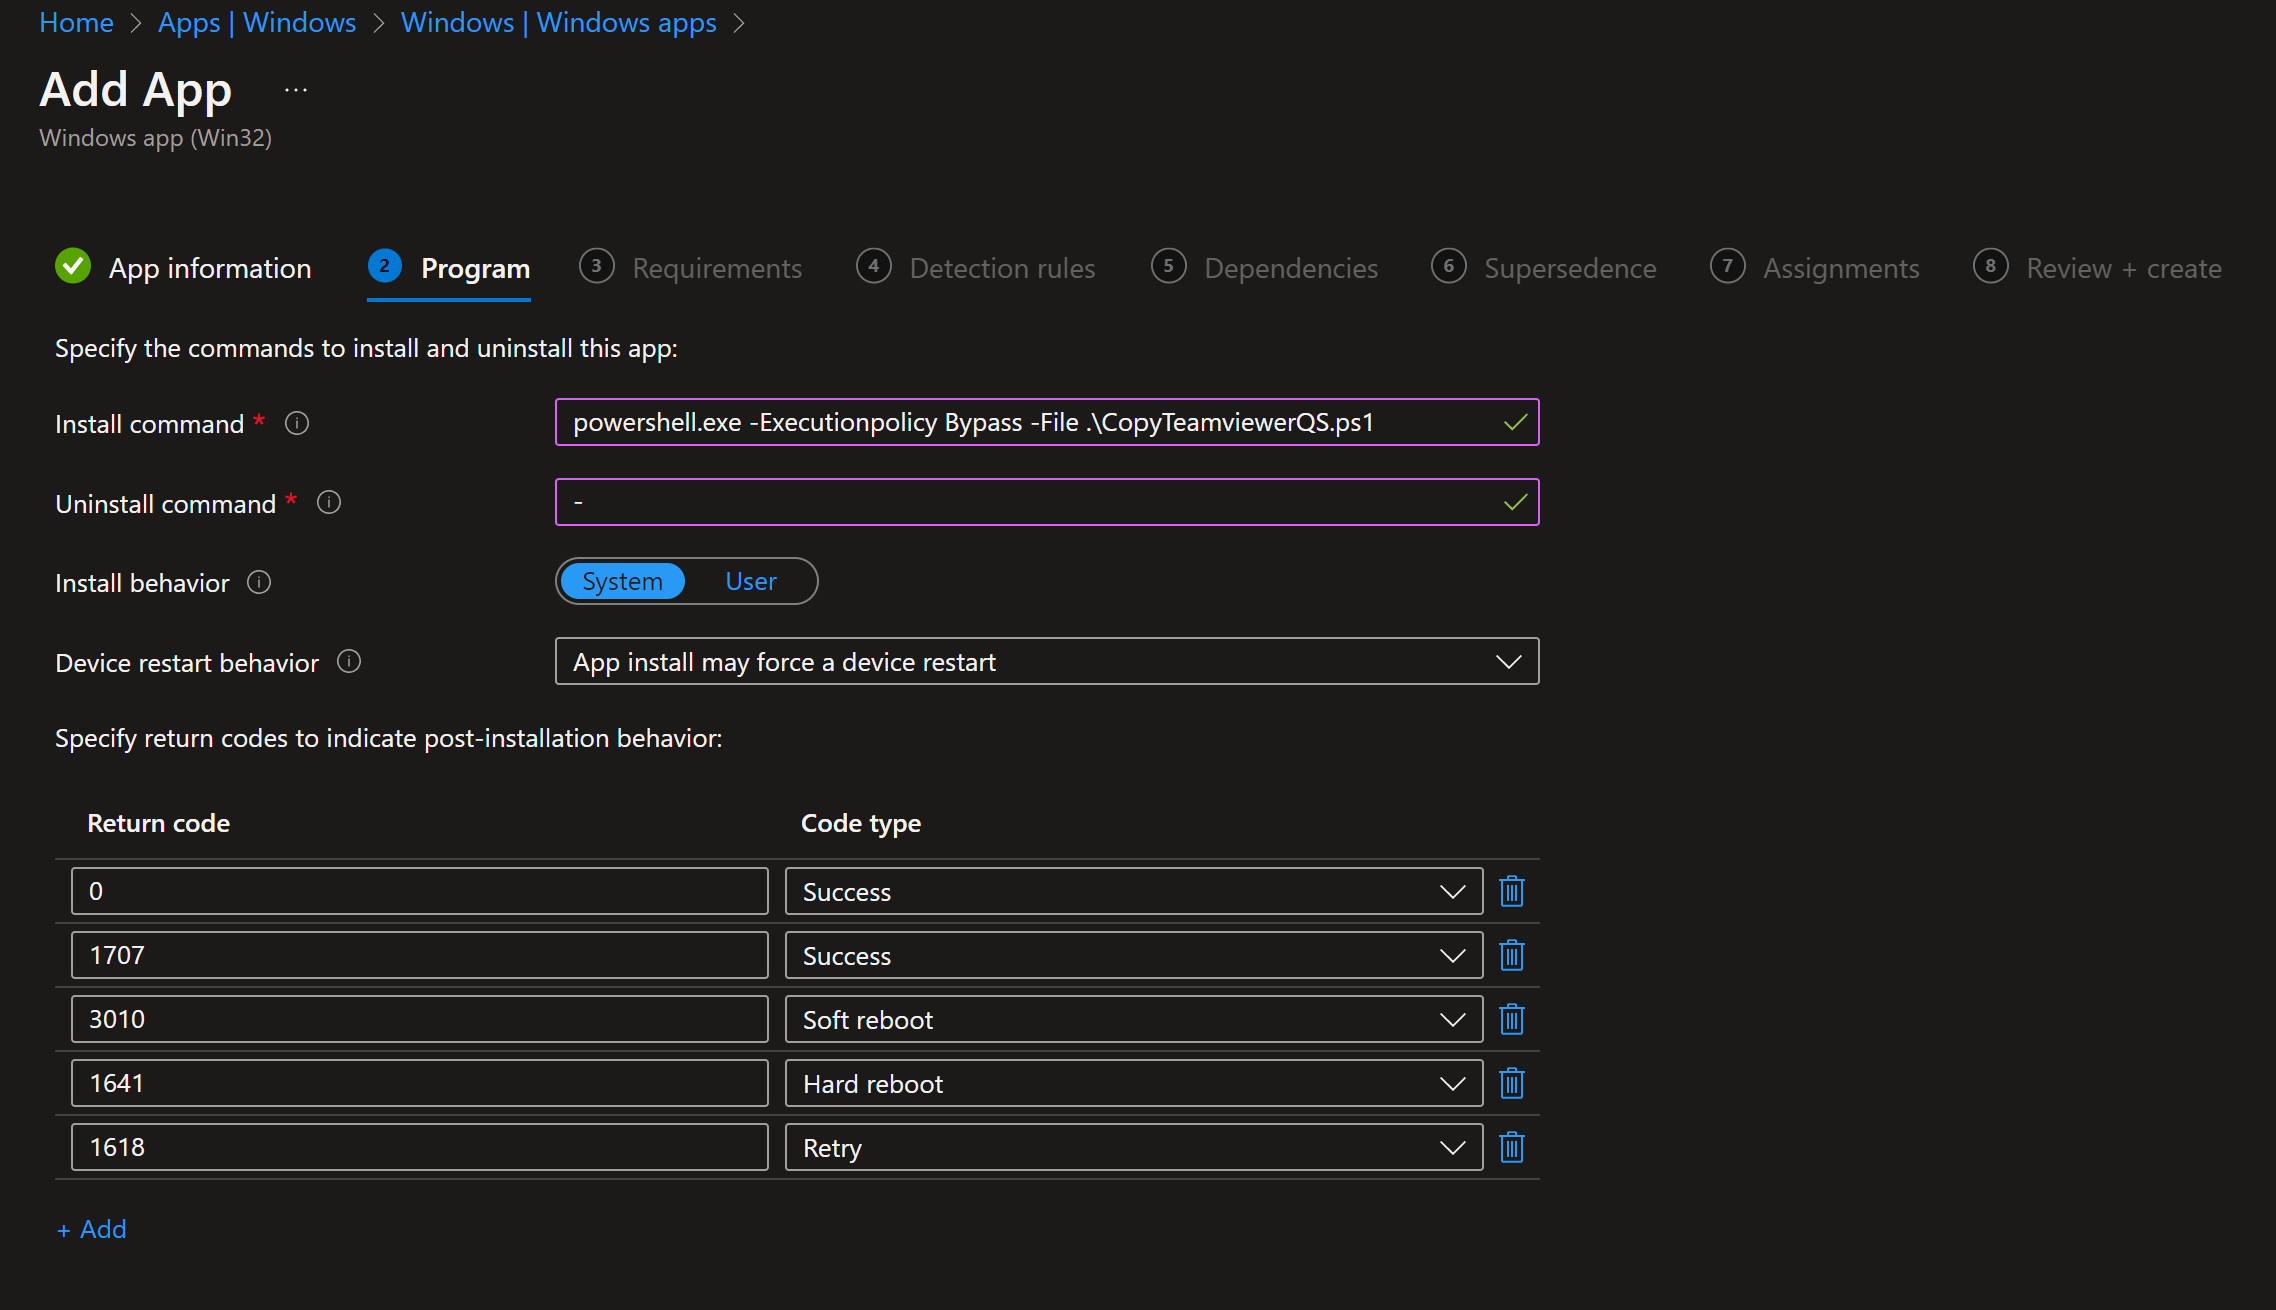
On Program, set:
- Install command:
powershell.exe -ExecutionPolicy Bypass -File .\CopyTeamviewerQS.ps1 - Uninstall command: leave blank (or use a command that removes the desktop shortcut if you need uninstall)
- Install behavior: System
- Device restart behavior: No specific action
Click Next.
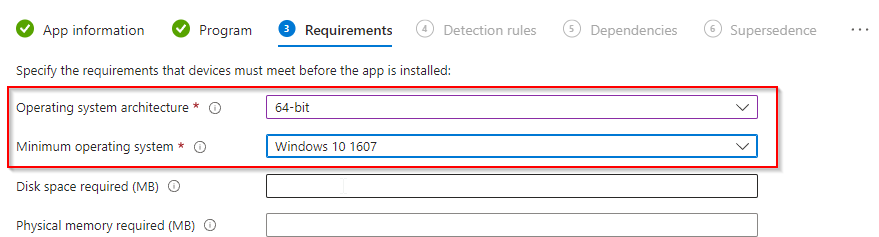
On Requirements, set Operating system architecture to 64-bit and Minimum operating system to Windows 10 1607 (or your minimum). Click Next.
On Detection rules, choose Manually configure detection rules. Click Add, set Rule type to File. Use:
- Path:
C:\Users\Public\Desktop\ - File or folder:
Support.exe(or the name you used in the script) - Detection method: File or folder exists
- Associated with a 32-bit app on 64-bit clients: No
Click OK and Next.

Skip Dependencies and Supersedence unless needed. On Assignments, add the groups (or All Users / All Devices) that should receive the app. Click Next, review the summary, and click Create.

Intune will run the install command on assigned devices. The script copies TeamViewerQS.exe to the Public Desktop; detection ensures the app is not reinstalled if the file is already present.
Wrap-up
You’ve deployed TeamViewer QuickSupport with Intune by creating a script that copies the QS exe to the Public Desktop, packaging the script and exe in an .intunewin file with the Win32 Content Prep Tool, and adding a Win32 app with file-based detection. Assign the app to the right users or devices; the shortcut appears on the Public Desktop for all users on the machine.