7-Zip is a widely used file archiver that supports many formats. Delivering it through Microsoft Intune as a Win32 app gives you centralized deployment, updates, and optional uninstall. This guide walks through downloading the 7-Zip MSI, packaging it with the Microsoft Win32 Content Prep Tool, and adding it as a Windows app in Intune.
You’ll use the official 7-Zip installer (64-bit Windows x64), wrap it in an .intunewin file, then configure the app in the Intune admin center with detection rules and assignments.
What You’ll Do
- Download the 64-bit 7-Zip installer from the official site.
- Create an
.intunewinpackage using the Microsoft Intune Win32 Content Prep Tool. - Add a Windows app (Win32) in Intune, upload the package, set install behavior and detection rules, then assign to users or devices.
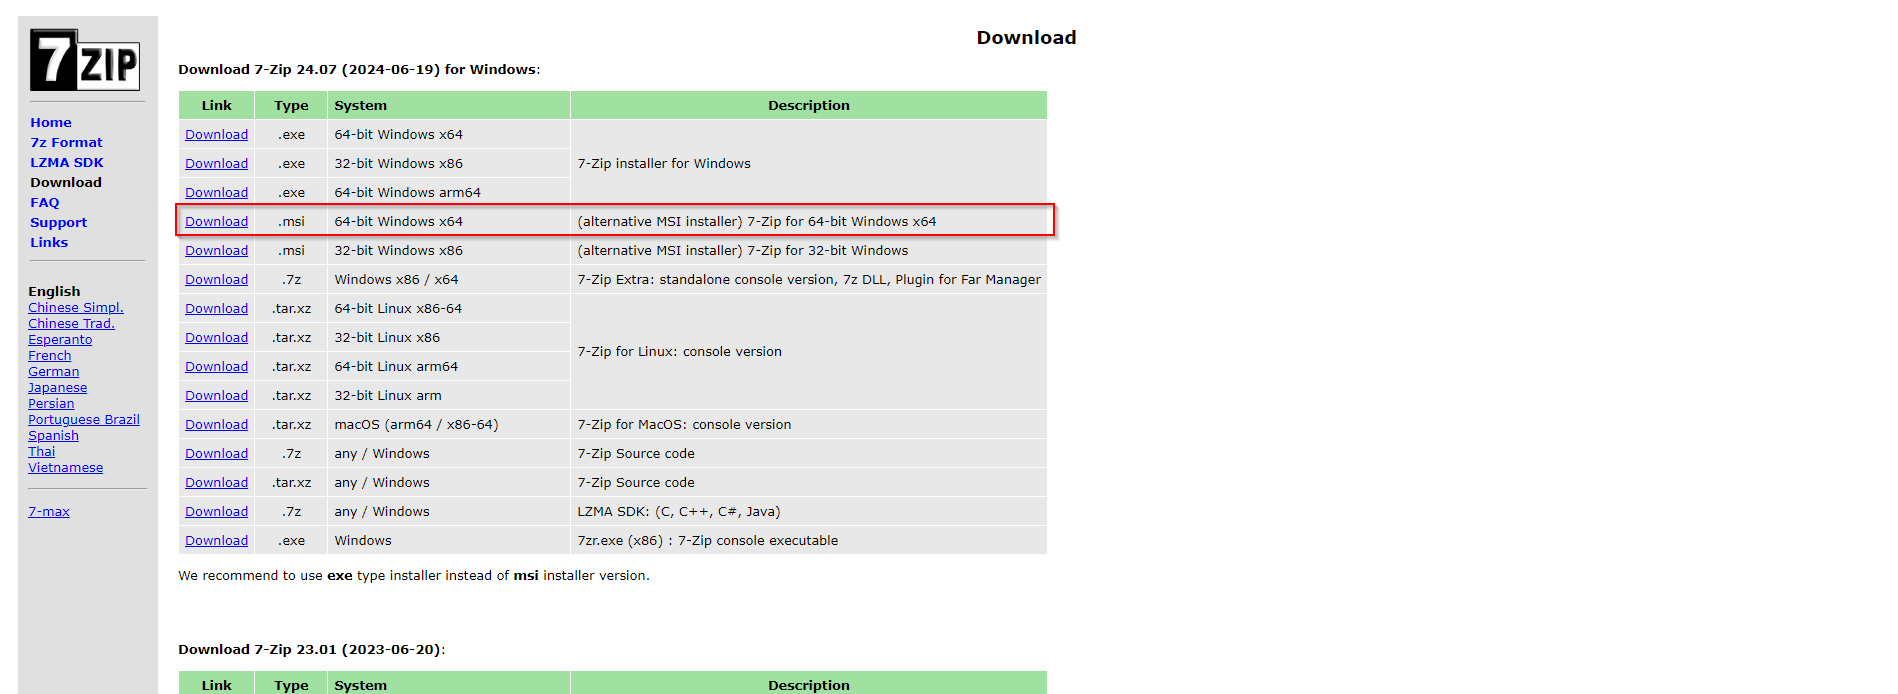
Step 1: Download 7-Zip
Get the 64-bit Windows installer from the 7-Zip download page. Choose the 64-bit Windows x64 download (e.g. 7z2407-x64.msi. The version number may differ). Save the file; you’ll add it to a folder in the next step.
Step 2: Package 7-Zip as a Win32 App
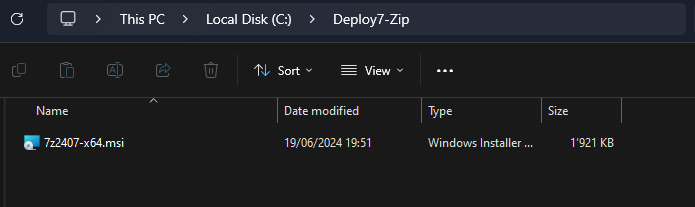
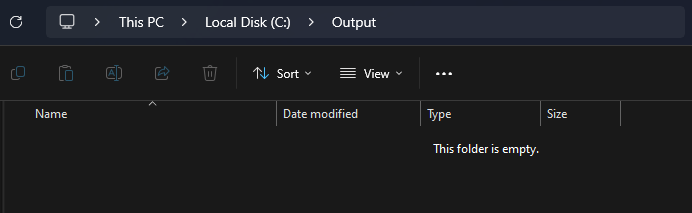
Create a folder on your machine (e.g. C:\Deploy7-Zip) and copy the downloaded MSI into it. Create a second folder for the tool output (e.g. C:\Output).
Download and install the Microsoft Intune Win32 Content Prep Tool (search for “Intune Win32 Content Prep Tool” or “IntuneWinAppUtil”). Run it as Administrator. When prompted, enter:
- Source folder:
C:\Deploy7-Zip - Setup file: your MSI filename (e.g.
7z2407-x64.msi) - Output folder:
C:\Output - Catalog folder: No
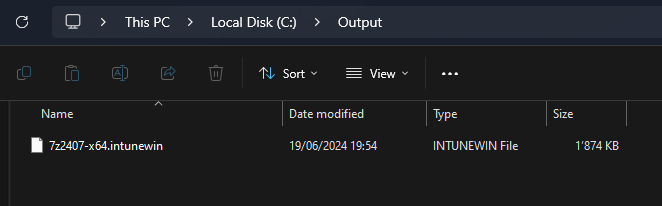
The tool creates an .intunewin file in the output folder. Use this file when adding the app in Intune.

Step 3: Add and Deploy the App in Intune
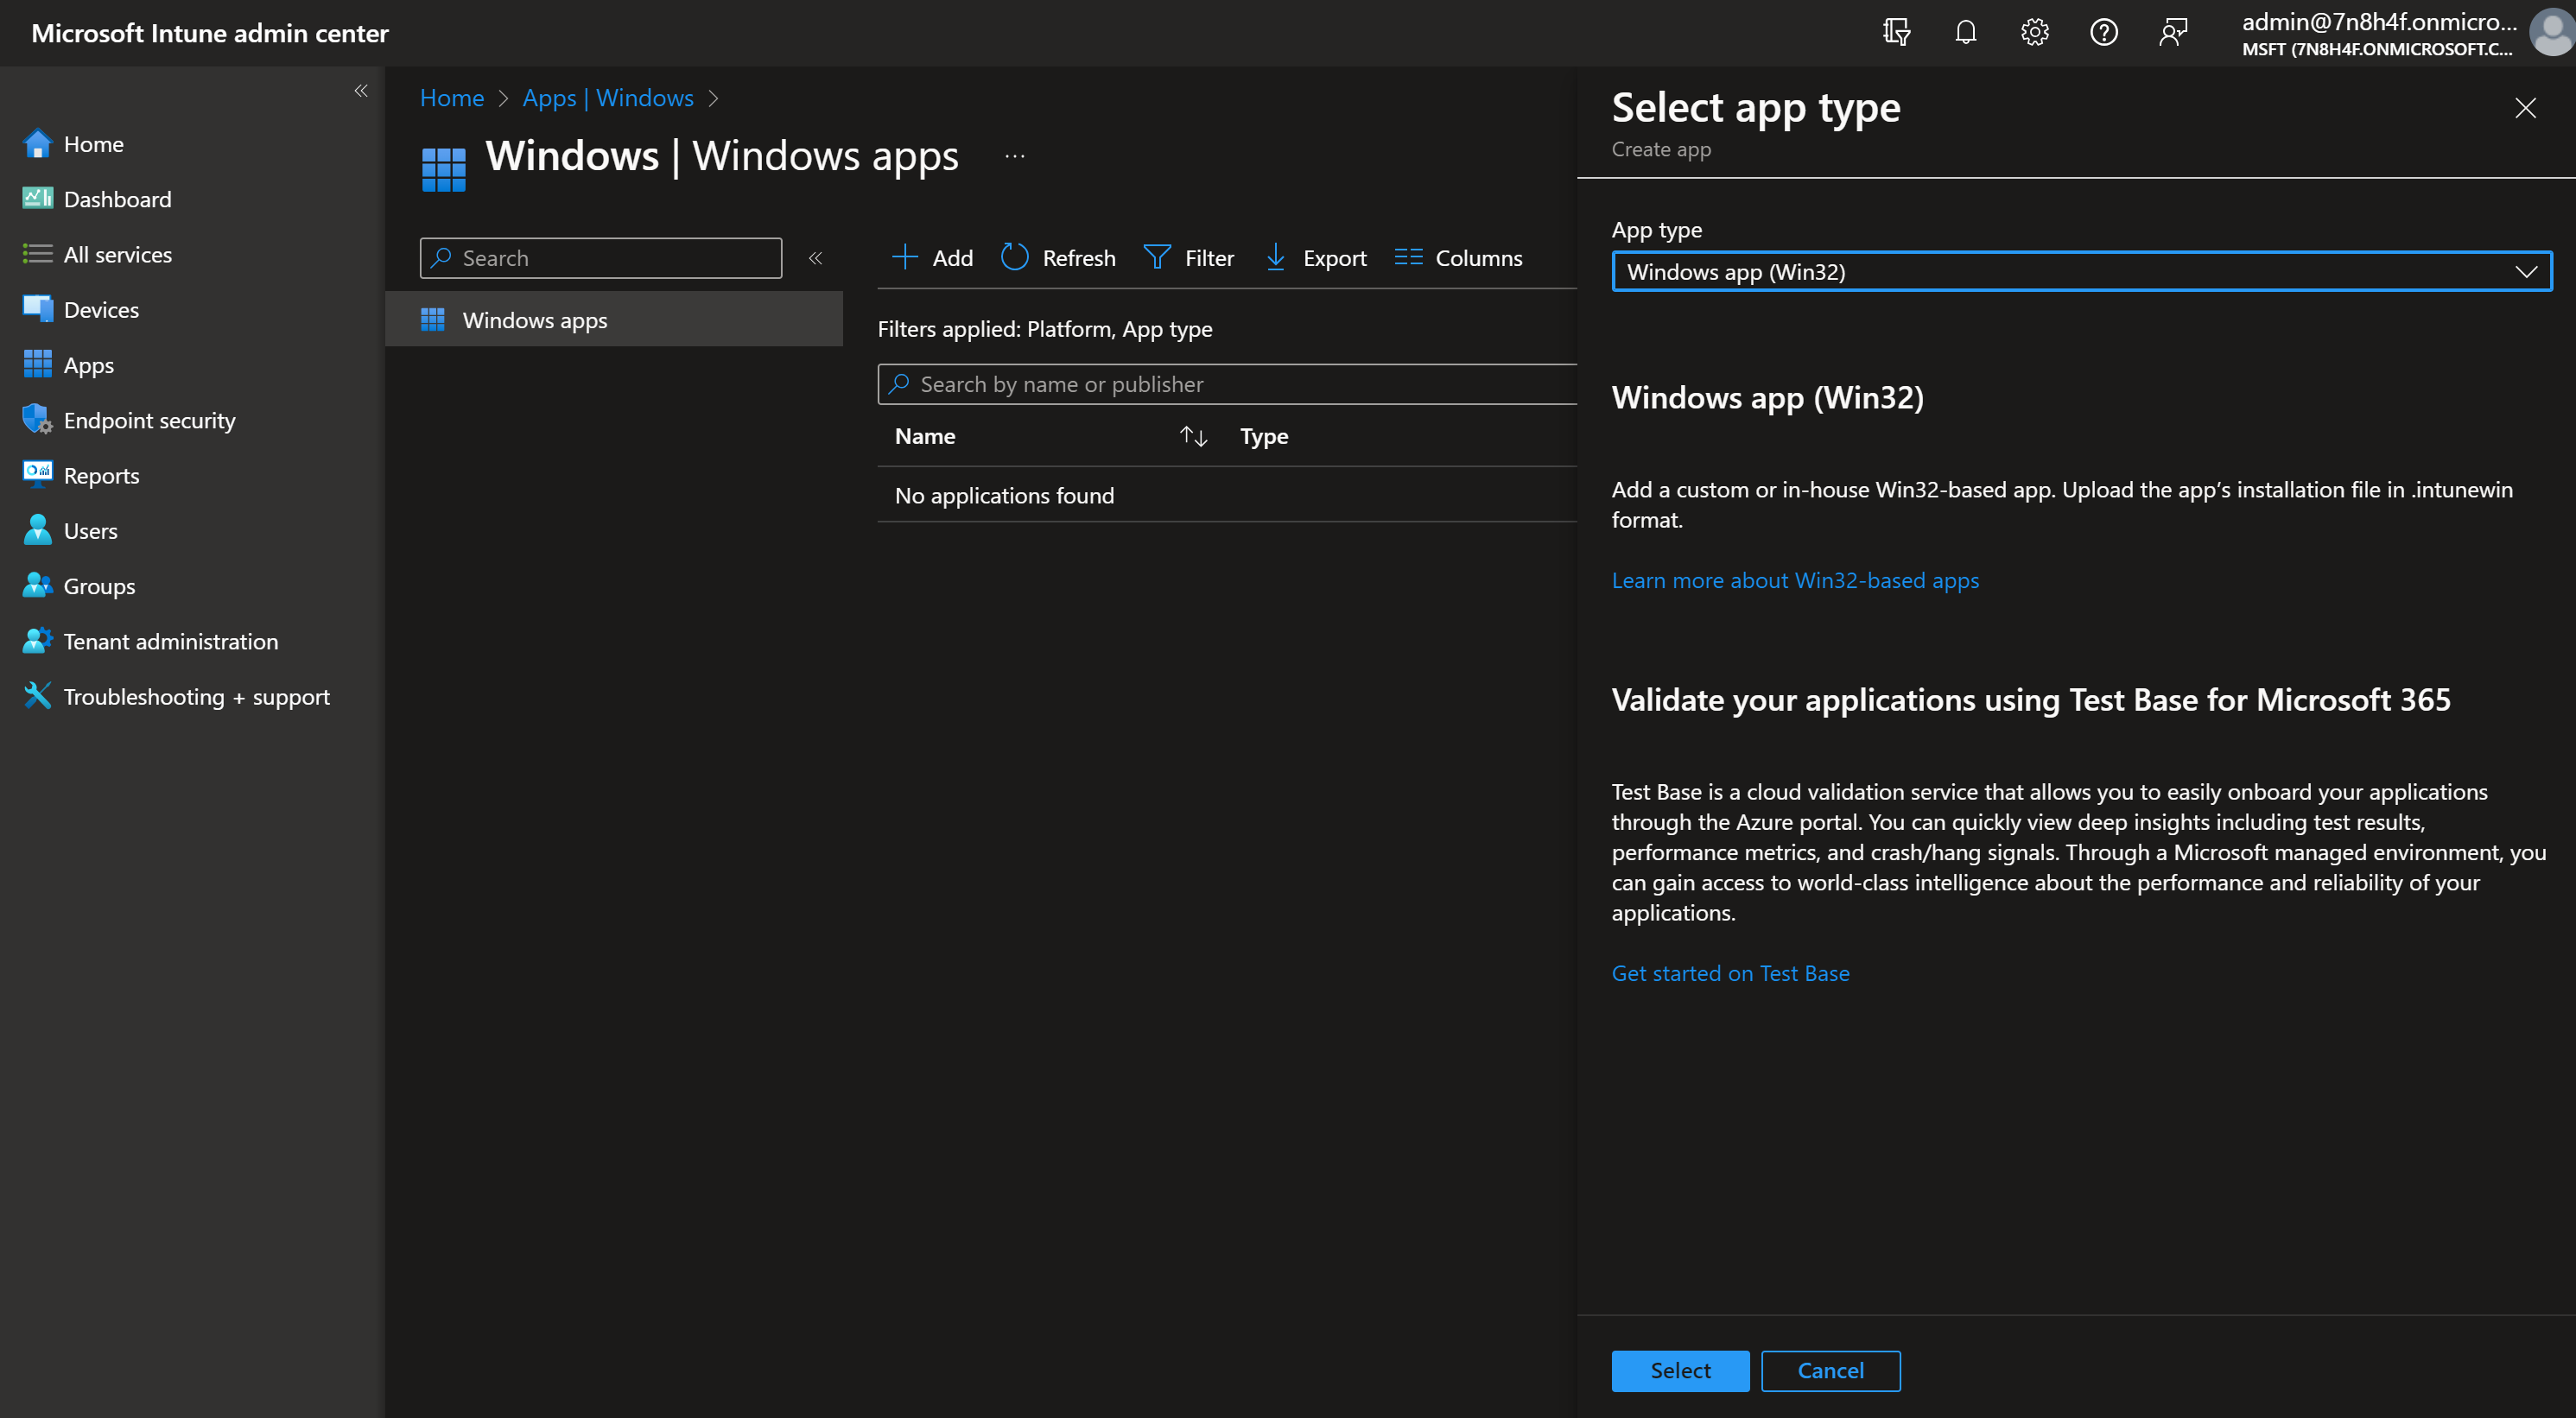
In the Microsoft Intune admin center, go to Apps → Windows → Add. Choose app type Windows app (Win32) and click Select.
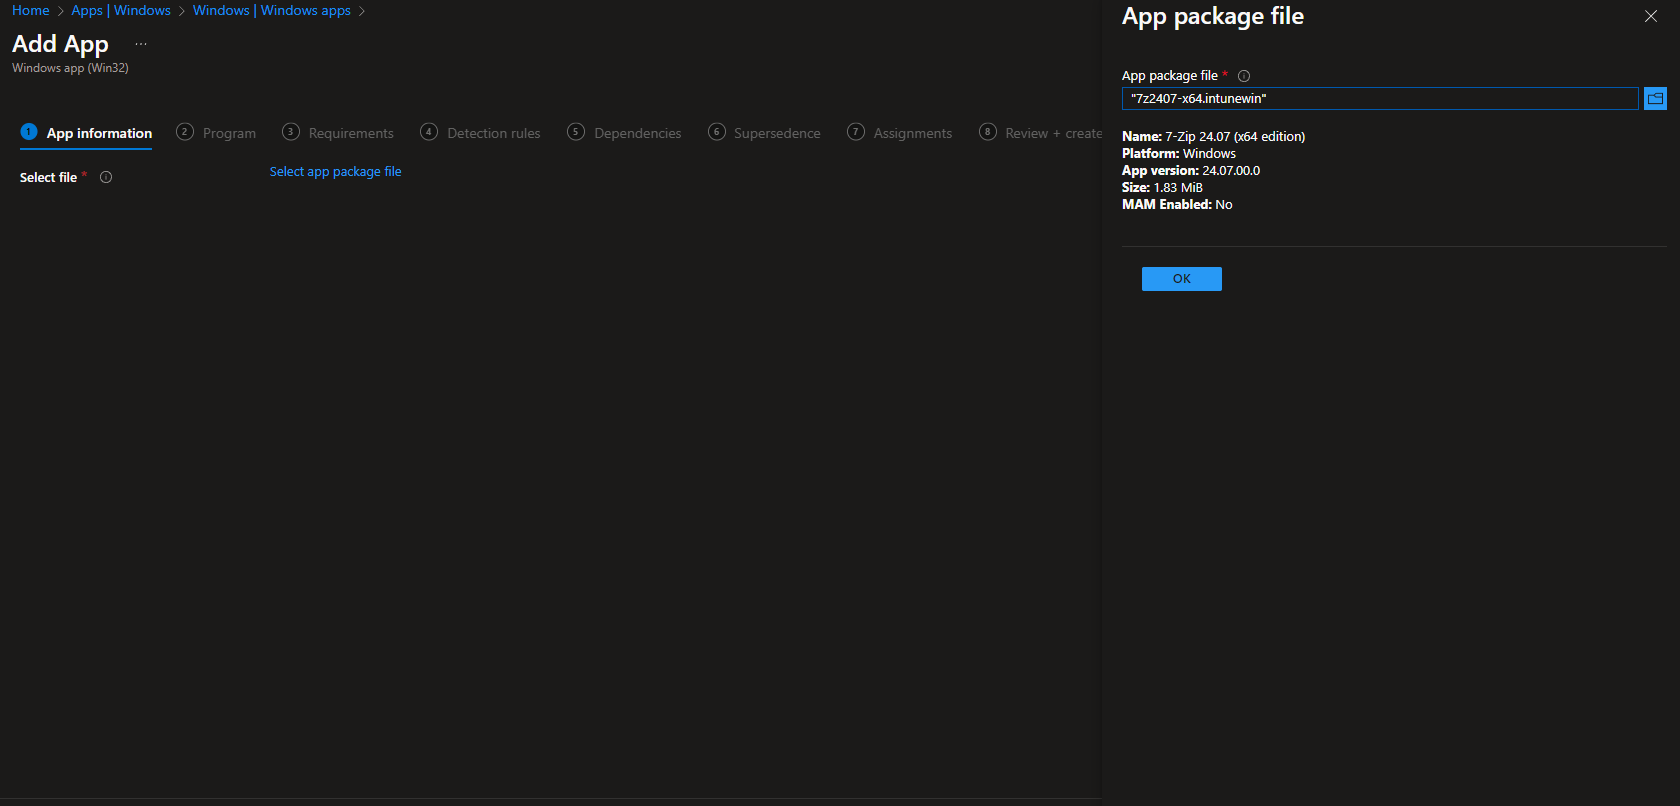
On App package file, click Select app package file, upload the .intunewin file from your output folder, then click OK and Next.
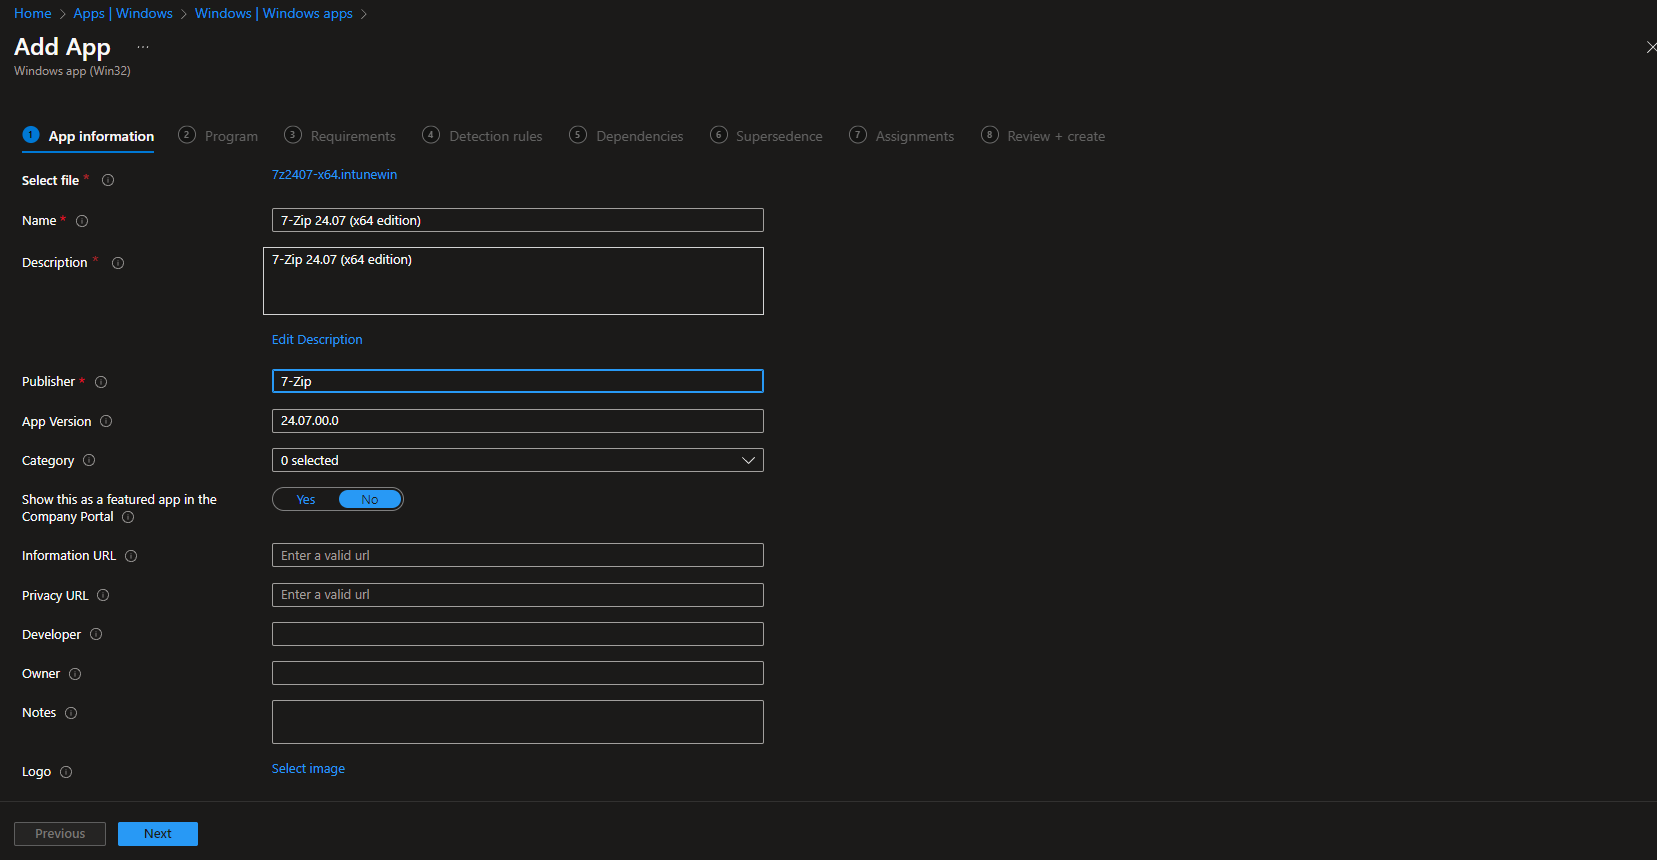
On App information, set name, description, and Publisher (e.g. 7-Zip or your org). Adjust other fields if needed, then click Next.
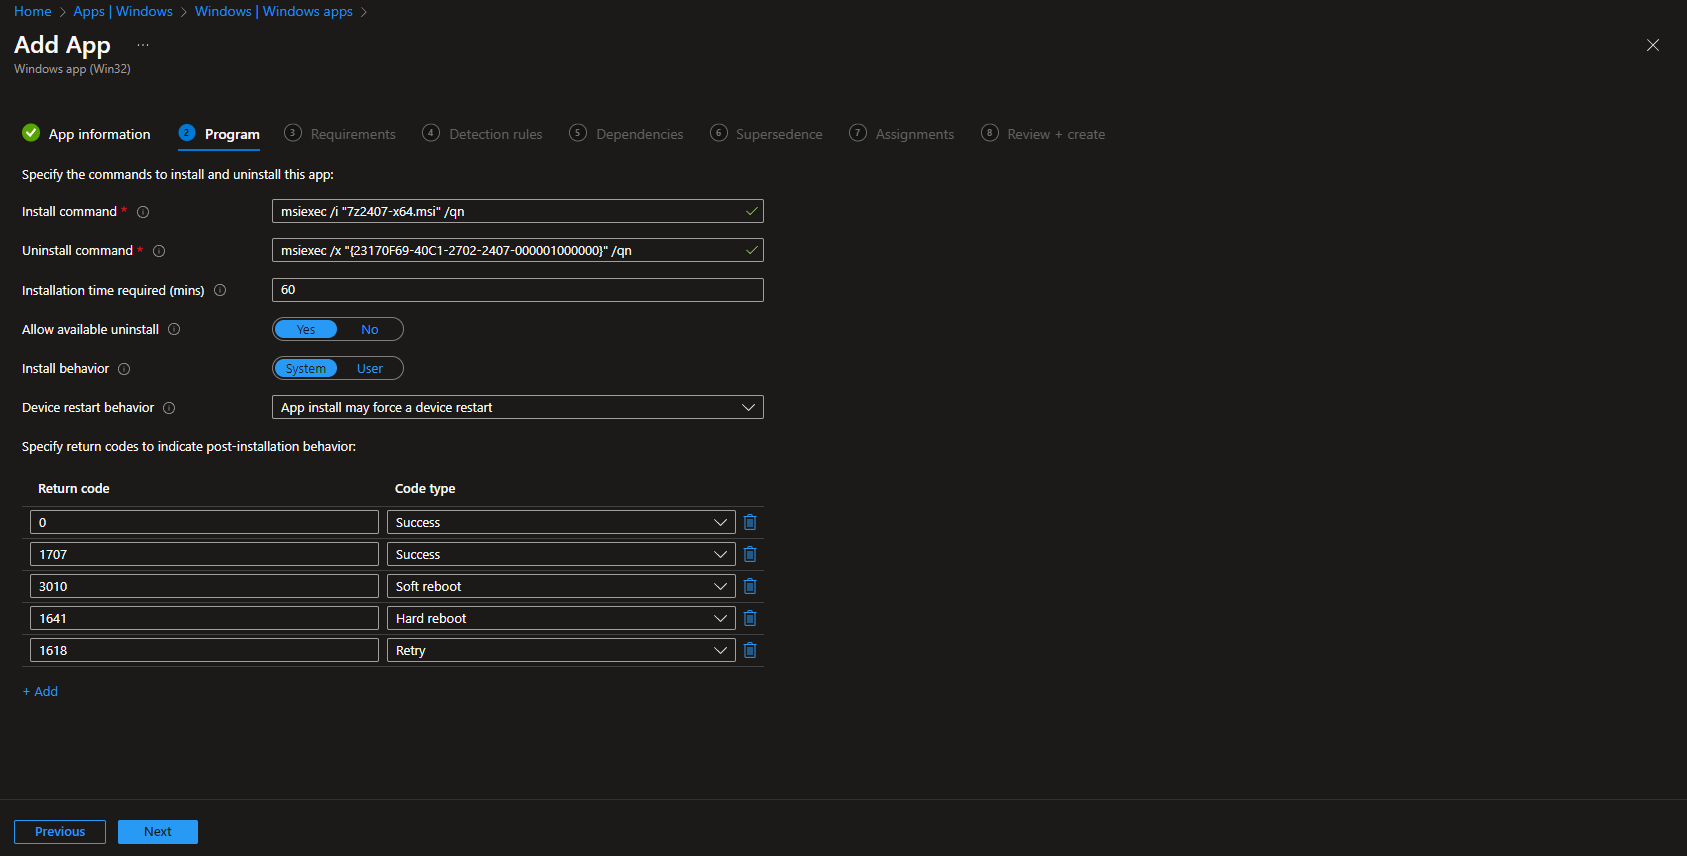
On Program, the install and uninstall commands are usually filled from the MSI. Set Install behavior to System. Enable Allow available uninstall if users should be able to remove the app. Click Next.
On Requirements, set Operating system architecture to 64-bit and Minimum operating system to Windows 10 1607 (or your minimum). Click Next.
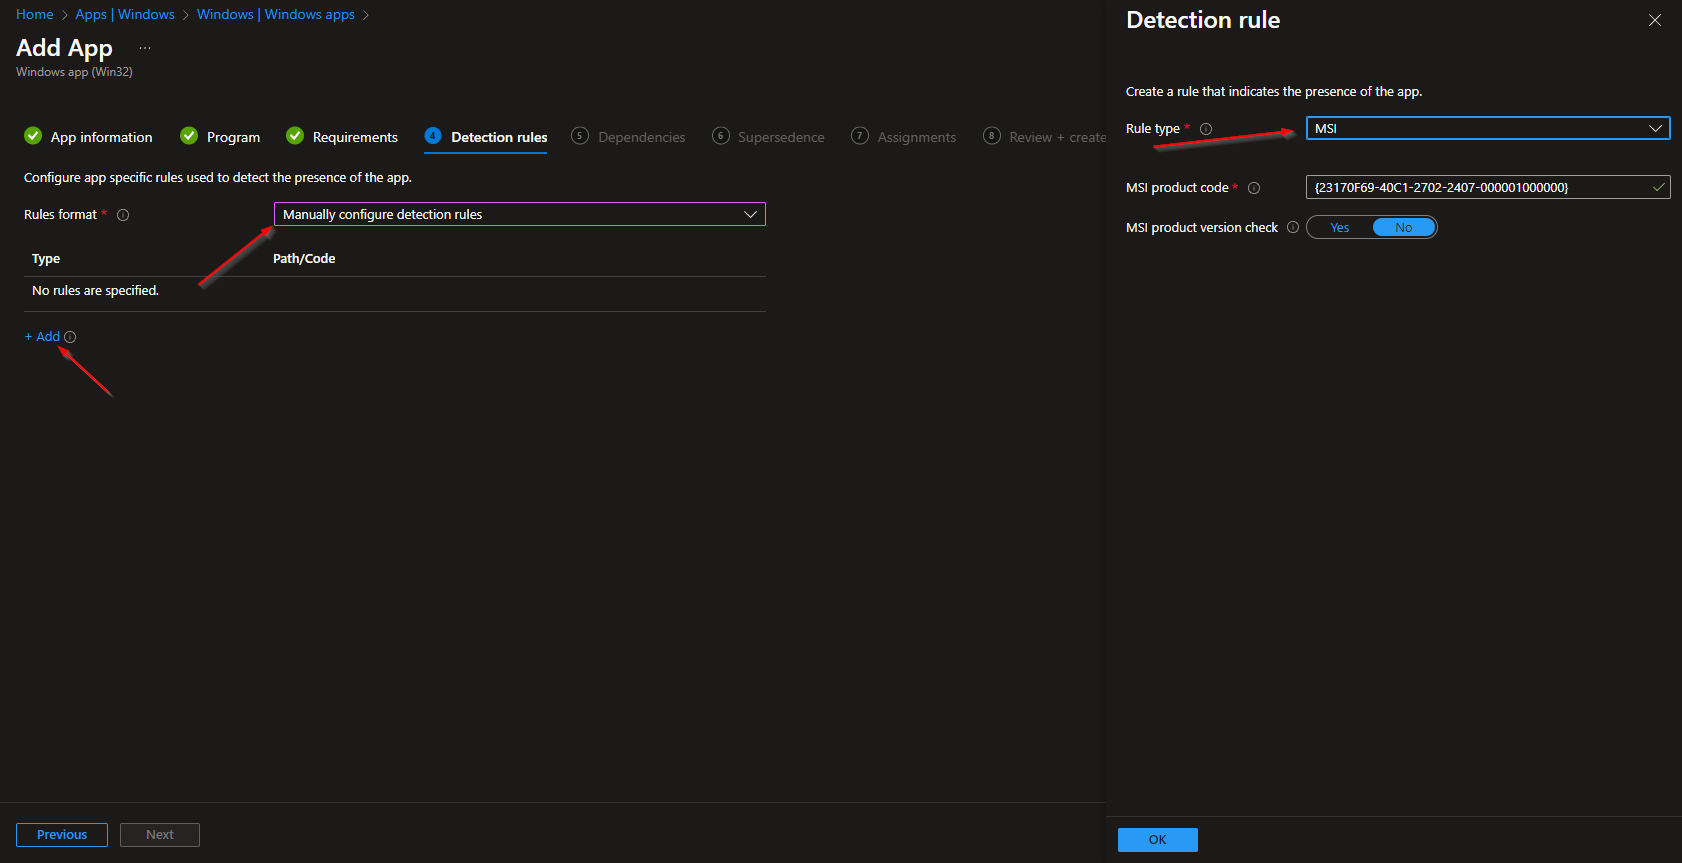
On Detection rules, choose Manually configure detection rules. Click Add, set Rule type to MSI. The MSI product code is usually populated from the package. Leave MSI product version check as No unless you need version-based detection. Click Next.
Configure Dependencies and Supersedence if needed, then click Next. On Assignments, add the groups (or All Users / All Devices) that should receive 7-Zip. Click Next, review the summary, and click Create.
Intune will distribute the app to assigned users or devices. Installation runs in the system context; users get 7-Zip without running the installer themselves.
Wrap-up
You’ve deployed 7-Zip with Intune by downloading the 64-bit MSI, packaging it with the Win32 Content Prep Tool into an .intunewin file, and adding it as a Win32 app with MSI detection and assignments. Use the same pattern for future 7-Zip updates: repackage the new MSI and update or supersede the app in Intune.